Grow Yellow Bells: Planting Plans for Success
Experience the transformative power of nature as you grow Yellow Bells, witnessing firsthand how their enchanting beauty and gentle presence can enhance the tranquility and serenity of your surroundings.
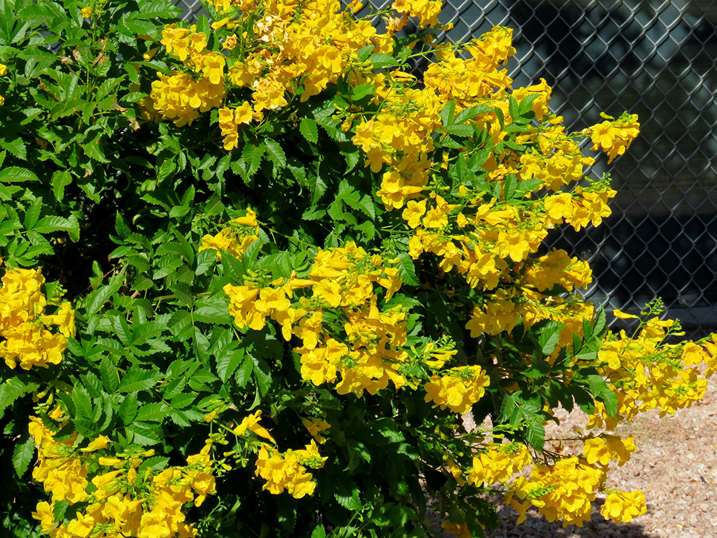
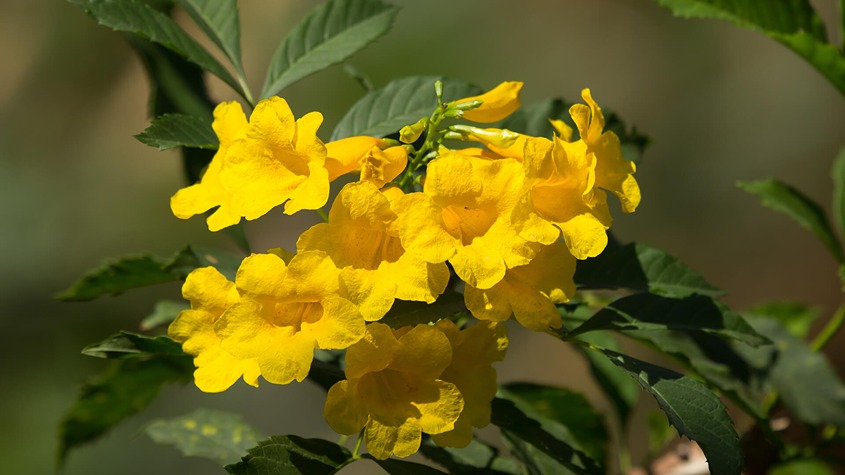
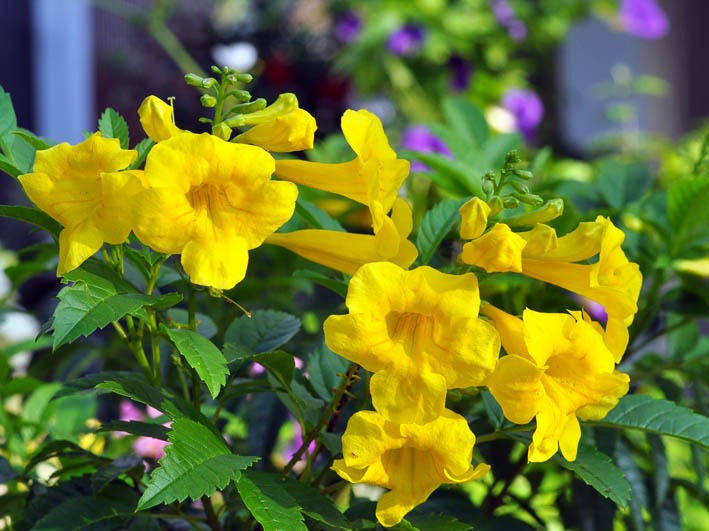
Tecoma stans, commonly known as Yellow Bells, is a tropical shrub that adds a vibrant touch to your garden. This large shrub features dark green compound leaves and eye-catching golden-yellow flowers. Originating from several southern states and parts of Central America, Yellow Bells is well-suited for regions with intense heat and limited water availability, making it highly tolerant to drought and extreme summer temperatures. Its blooming period spans from June until the arrival of frost.
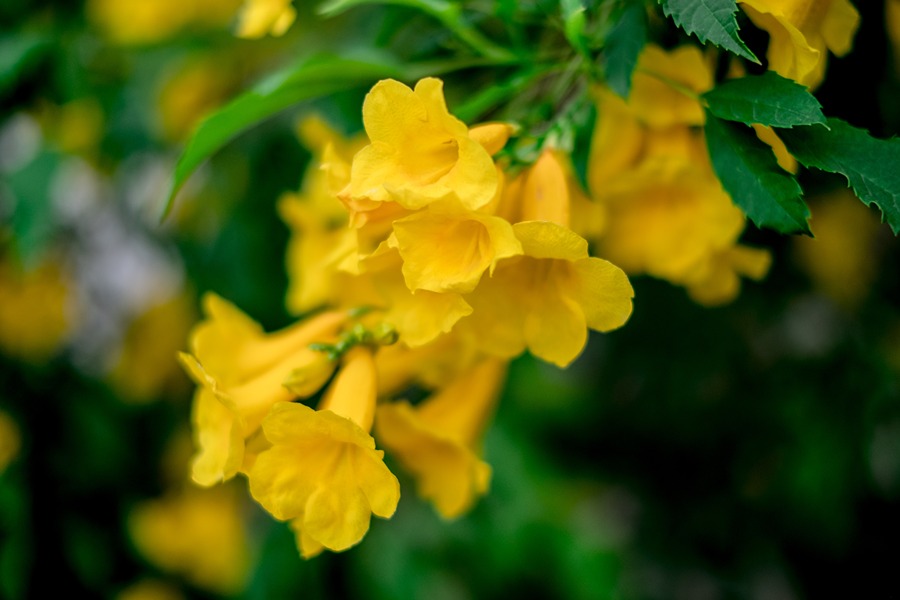
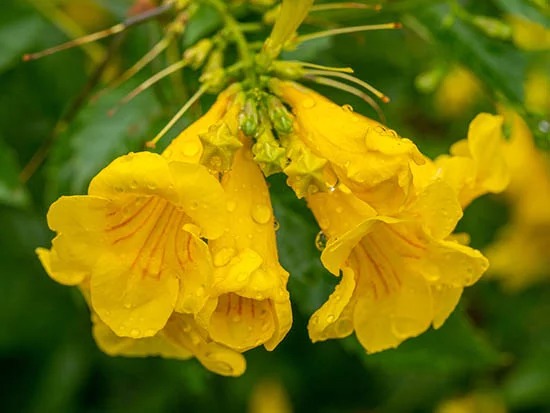
One of the standout characteristics of Yellow Bells is the abundance of large, trumpet-shaped blooms that adorn its branches. While lacking a fragrant aroma, these flowers, especially the red ones, are a favorite among hummingbirds, bees, butterflies, and other pollinators. Even when not in bloom, the glossy green foliage of the shrub serves as an attractive backdrop for other plants in the garden. As the plant matures, it develops an appealing gray-brown corky bark.
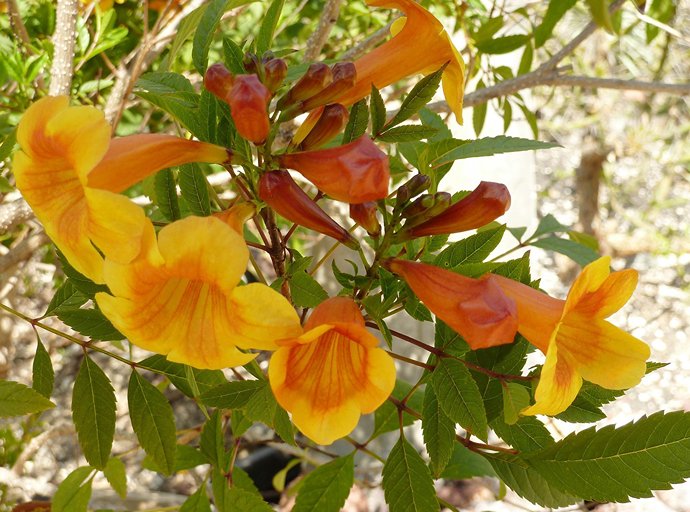
Thanks to recent advancements in breeding, Yellow Bells now offers a broader range of colors, including orange and red blossoms. Breeders are also striving to create a more compact variation of Yellow Bells, better suited for container gardening.
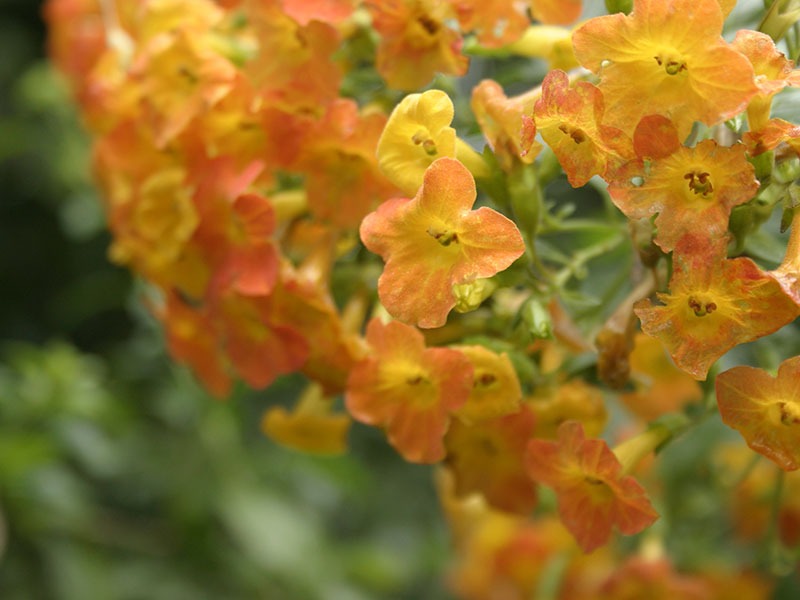
Yellow Bells is vibrant plant type thrives in partial sun to full sun conditions. It typically grows to a height ranging from 1 to 3 feet and spreads out to a width of 3 to 4 feet. The flowers of Yellow Bells showcase a delightful range of colors, including orange, red, and yellow. The foliage of this shrub features a pleasing blue-green hue.
One of the notable characteristics of Yellow Bells is its seasonal blooms, which occur during the fall, spring, and summer. These blooming periods add an enchanting touch to the plant, attracting birds and making it an ideal choice for container gardening. In terms of hardiness, Yellow Bells thrives in zones 10 and 11, indicating its adaptability to warmer climates.
When it comes to propagation, Yellow Bells can be grown from either seeds or stem cuttings. This versatility allows gardeners to choose the method that suits their preferences and resources. Additionally, Yellow Bells serves as a problem solver in landscapes as it exhibits excellent tolerance to drought conditions and provides a natural privacy screen.
Planting Yellow Bells
To plant nursery-grown Yellow Bells shrubs, it is best to wait until mid-spring after the last frost. Dig a hole that is twice the size of the root ball and as deep as the container. Loosen the soil in the hole and improve drainage by adding compost or organic material. Place the shrub in the hole at the same depth as it was in the container. Fill the hole with amended soil, gently pressing down to remove air pockets. Water the plant after planting.
Tips for Caring for Yellow Bells
Yellow Bells shrubs are low-maintenance additions to any garden, rewarding gardeners with blooms throughout three seasons.
Light:
To maximize the number of blooms, plant Yellow Bells in full sun.
Soil and Water:
While Yellow Bells can tolerate various soil conditions, it thrives when planted in rich, well-drained soil with medium moisture. To promote impressive blossoms and lush foliage, amend the soil with organic matter.
Temperature and Humidity:
Yellow Bells is native to hot climates and is well-suited to desert heat. It can tolerate colder temperatures but will die back to the ground when temperatures drop below 25°F (-4°C) and then regrow in spring. This tropical plant thrives in both sub-humid and humid climates and can also tolerate low-humidity conditions.
Fertilizer:
When planting Yellow Bells shrubs, incorporate a slow-release fertilizer with a 19-5-9 NPK ratio into the soil at a rate of 2 cups per 100 square feet of planting area. Mature plants can benefit from an annual spring application of ammonium phosphate fertilizer at a rate of 2/3 cup per mature plant.
Pruning:
Prune Yellow Bells in late winter or early spring after the risk of frost has passed. Remove any old or damaged branches. If the plant completely dies back during winter, remove all the dead growth.
Potting and Repotting Yellow Bells:
Yellow Bells shrubs are not very large. If you wish to grow them in containers, use a general-purpose potting mix with a slow-release balanced fertilizer. Choose a clay pot that is at least one foot wide for a single shrub, ensuring it has drainage holes. For optimal blooms, place the container in full sun from spring to fall. Repot the shrub annually during winter, replacing the potting mix and fertilizer.
Pests and Problems
Yellow Bells is generally resistant to pests and wildlife damage. However, it may attract leaf skeletonizer caterpillars, which can cause cosmetic damage. Prune affected leaves and destroy them. The plant usually recovers quickly. If the infestation is extensive, treat it with bacillus thuringiensis. Yellow Bells is susceptible to root rot in waterlogged soil, so good drainage is essential.
Propagation of Yellow Bells
Yellow Bells shrubs can be propagated through seeds or stem cuttings.
Stem cuttings:
In late spring or early summer, take 4- to 6-inch cuttings from the shrub’s tips. Remove the leaves from the bottom half of the cutting and dip it in rooting hormone. Fill 4-inch pots with well-draining soil or a soilless potting mix, and make a small hole in the center. Insert the cutting into the hole and firm the soil around the stem. Cover the pot with a clear plastic bag to maintain moisture. Place it in a warm, bright area (avoiding direct sun). Keep the planting medium moist, and remove the bag permanently when new growth appears. Repot into a larger container if necessary.
Seeds:
After Yellow Bells blossoms, long, narrow bean-like seedpods develop. Allow them to dry on the shrub, then open the pods to collect the thin papery seeds. Directly sow the seeds in prepared soil after the last frost, lightly covering them. Alternatively, sow the seeds in small pots with well-draining planting medium, lightly covering the seeds. Place a clear plastic bag over the pots to maintain humidity and put them in a warm, well-lit area. Check the moisture of the planting medium regularly. Once growth is visible, remove the plastic bag. Repot when needed.
