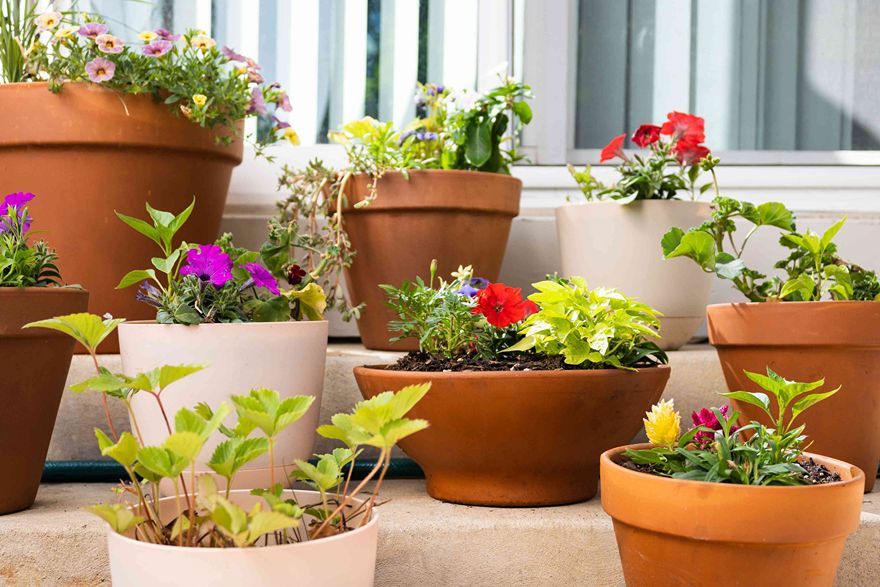
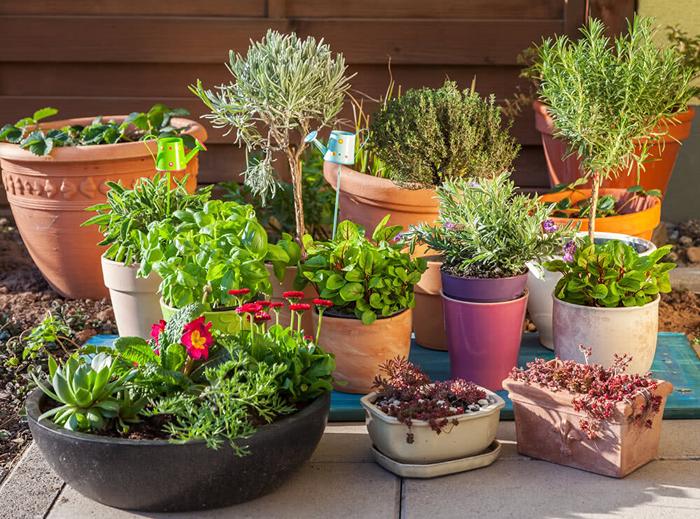
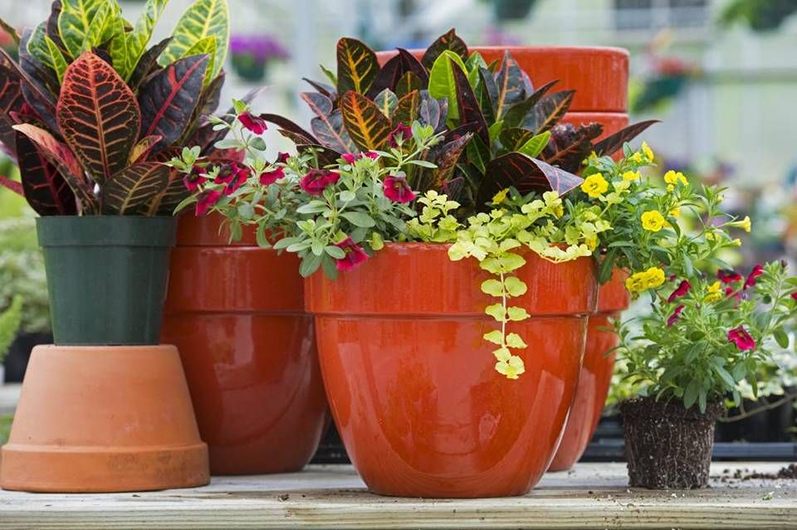
Container Gardens are a popular choice for urban dwellers with limited outdoor space, allowing them to create beautiful greenery in small areas. Container gardening offers a convenient and visually appealing way to enhance the aesthetics of your garden, patio, or porch. A Container Garden can bring life and color to any space, creating a vibrant and inviting atmosphere. Container Garden enthusiasts know the joy of nurturing plants in beautifully arranged pots, adding a touch of elegance to their outdoor areas.
With a Container Garden, you can unleash your creativity and explore endless possibilities in designing unique and personalized plant arrangements. While simply placing begonias or petunias in a pot can suffice, with a bit of extra effort, you can create stunning container arrangements brimming with vibrant flowers and lush foliage. By carefully selecting the right combination of plants and arranging them in attractive planters, you can achieve a magical display. In this detailed explanation, we will delve into the step-by-step process of creating beautiful container arrangements that will thrive throughout the season, requiring only regular watering to maintain their colorful splendor.
To embark on your container gardening journey, you will need a few essential materials. These include a container of your choice, plants categorized as thrillers, fillers, and spillers, potting soil, a broken clay pot (optional), and water.
Now, let’s explore the tips that will guide you in crafting stunning container arrangements consistently. Following these steps will ensure your plants flourish, and you can relish the vibrant display throughout the season, all with minimal effort.
1. Optimal Container Selection
When selecting a container for your container gardening endeavors, consider factors such as weight, sensitivity of weather changes, and aesthetic appeal, in addition to your budget, available space, and personal style. Keep in mind that larger containers require less frequent watering. Regardless of the container you choose, make sure it has drainage holes at the bottom to facilitate proper water drainage.
2. Creating Colorful Plant Combinations
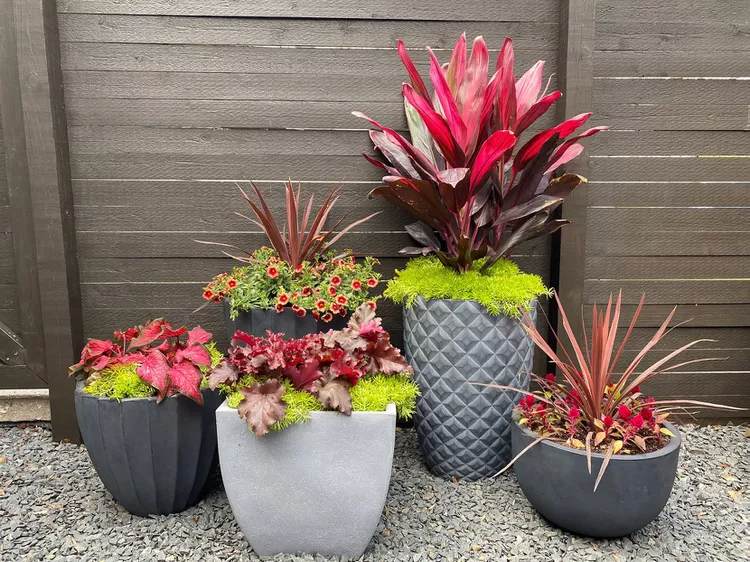
To create a visually harmonious container arrangement, opt for a color theme that complements your container or the flowers and foliage you intend to include. Ensure that the plants you choose have similar light requirements and watering needs. It is advisable to arrange plants in odd numbers and incorporate at least one thriller, filler, and spiller plant. This combination of plant types adds interest and balance to your arrangement.
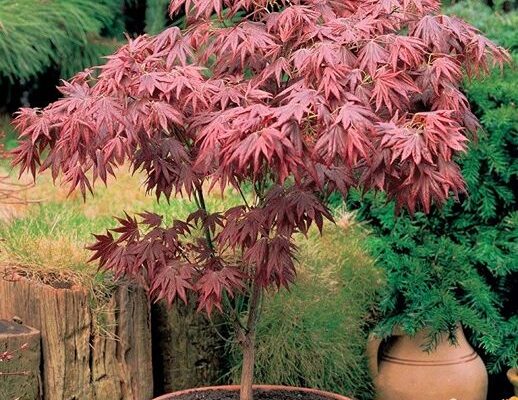
Thriller plants are characterized by their height and bold vertical presence. You can choose foliage plants, ornamental grasses, or upright flowering plants as thrillers. Typically, thrillers are placed near the center of the container.
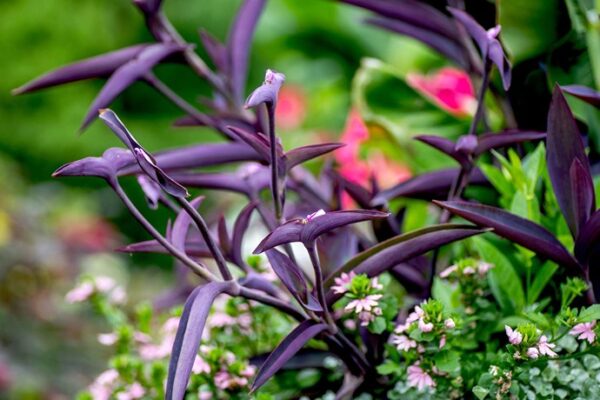
Filler plants contribute to a full and rounded appearance, and they are usually positioned in front of or around the thriller. In long and narrow containers like window boxes, fillers are placed midway between the container’s edge and the thrillers.
Spiller plants hang over the edge of the container, creating an elegant cascading effect. If your container is visible from all sides, ensure you place spillers all around it.
3. Ensuring an Appropriate Plant Count
Avoid overcrowding your container garden, as it can hinder the growth of your plants above and below the soil surface. To prevent overfilling, adhere to the recommended plant-to-pot size ratios. For instance, a 10″ to 12″ pot can accommodate 3-4 plants, a 14″ to 16″ pot can hold 5-7 plants, and a 16″ to 20″ pot can house 6-9 plants.
Tip
To prevent potting mix from draining out of the container but still allow proper drainage, you can place a piece from a broken clay pot over the drainage hole before filling your container. However, avoid using a layer of rocks at the bottom, as this impedes water drainage instead of facilitating it.
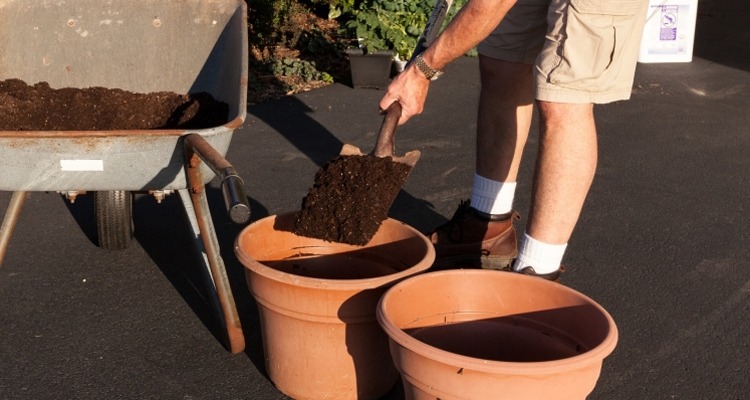
4. Properly Fill the Container with Potting Mix
Once you have selected your plants and container, it’s time to begin planting. Fill the container approximately two-thirds full with an all-purpose potting mix. Avoid using garden soil, as it is too heavy and lacks proper drainage capabilities. For larger planters, you can conserve potting mix by placing smaller empty containers upside down at the bottom, filling the surrounding space with potting mix until the container is two-thirds full.
5. Carefully Place Plants in Container
When you are ready to add plants to the container, gently squeeze the sides of their nursery containers to loosen the root ball, making it easier to slide them out. Avoid pulling the plant directly, as this may cause damage. Loosen the roots to encourage outward growth within the container. Position your plants on the potting mix, ensuring that the top of their root balls sits a couple of inches below the rim of the container. This arrangement facilitates watering in the future. Fill the gaps around the plants with more potting mix, lightly pressing down to eliminate air pockets.
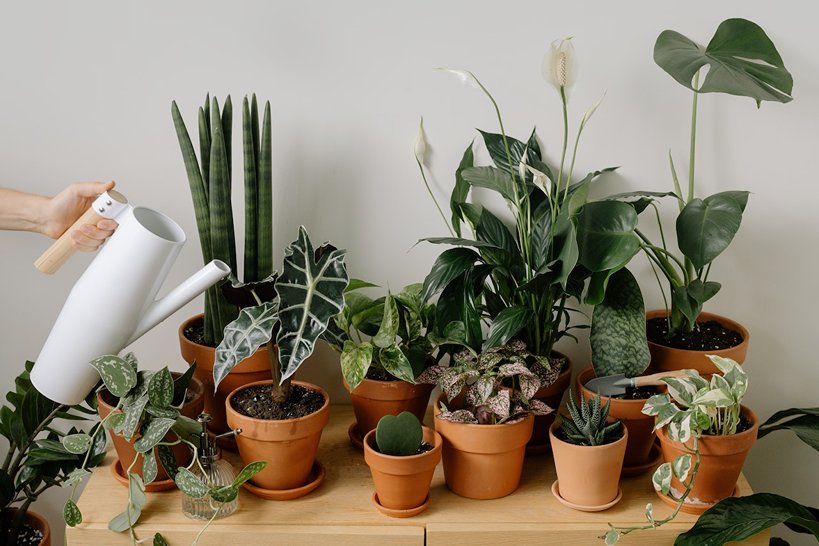
6. Water Your Plants
Water your container garden to help settle the soil. Add more soil if necessary to ensure all the roots are adequately covered. Maintain a soil level a couple of inches below the container’s rim to prevent water and soil from overflowing. After the initial watering, check the soil after a day or two, and if the top inch feels dry to the touch, it’s time to water again. Sufficient watering is indicated when some water runs out of the drainage holes. If you use a saucer beneath the pot, remember to empty it regularly, as stagnant water can lead to root rot.