How to Plant and Care for Wallflowers
During the spring season, the blooms of this particular plant will create a visually stunning display in your garden. Originating from southern Europe, wallflowers are plants that thrive in cooler climates and can withstand a wide range of hardiness zones, specifically Zones 3-10. One of the notable characteristics of wallflowers is their delightful fragrance. Additionally, these plants are available in a diverse array of colors, allowing for a vibrant and varied garden.
Wallflowers can be categorized as either short-lived perennials or biennials, although they are commonly cultivated as annuals due to their extended blooming period. They exhibit a remarkable ability to produce flowers for an extended duration. Depending on the variety, wallflowers can range in size, spanning from low-lying groundcovers to compact shrubs.
To cultivate wallflowers successfully, it is recommended to sow their seeds a few weeks before the last frost date specific to your region. By following this timeline, you can ensure that the wallflower will bloom in late spring, creating a visually appealing spectacle in your garden.
Ideal Locations for Planting Wallflower
Wallflowers thrive in soil that is well-drained, and their preference for such conditions is evident in their name. These plants are often seen flourishing in the crevices of walls, sprouting out from the mortar between rocks and bricks. In addition to these unique growing locations, wallflowers are also well-suited for various other settings such as rock gardens, the front of borders, raised beds, and containers.
When selecting a spot for wallflower, it is important to ensure that they receive an ample amount of sunlight. These plants prefer sunny locations that provide them with sufficient direct sunlight throughout the day. By choosing an appropriate planting location and providing the necessary conditions, you can help wallflower thrive and enhance the visual appeal of your garden or landscape.
Planting Wallflowers: Techniques and Timing
To successfully plant wallflowers, it is essential to follow proper techniques and choose the appropriate timing. Here are the guidelines to ensure successful wallflower cultivation:
- Spring Planting: For regions with cooler climates, it is recommended to sow wallflower seeds in the spring season. Ideally, this should be done about 10 to 12 weeks prior to the final frost date. By adhering to this timeline, you allow sufficient time for the seeds to establish and grow.
- Fall Planting in Warmer Climates: In regions with milder and warmer climates, an alternative option is to plant wallflower seeds in the fall. This timing takes advantage of the favorable conditions, allowing the seeds to establish themselves before winter arrives.
- Light Seed Coverage: When planting wallflower seeds, it’s important not to bury them too deep. These seeds require sunlight to aid in their development. Instead, lightly cover them with a thin layer of soil. This allows the seeds to receive the necessary sunlight for germination and subsequent growth.
- Planting Nursery Starts: If you reside outside the recommended hardiness range for wallflowers, you can still enjoy these plants by using nursery starts as annuals. To plant nursery starts, begin by digging a hole that matches the width and depth of the planting container. Carefully remove the plant from its container, gently loosening the roots from the root ball to promote healthy growth. Place the plant in the hole, backfill it with soil, lightly tamp it down, and provide ample water to ensure proper hydration.
Caring for Wallflowers: Tips for Optimal Growth
To ensure the optimal growth and health of your wallflowers, it is essential to provide appropriate care. Here are detailed tips on how to care for wallflowers:
Light Requirements
In northern climates, it is advisable to position wallflowers in an area of the garden that receives full sun. This ensures they receive the maximum amount of sunlight necessary for their growth. In southern climates, however, it is beneficial to provide them with some afternoon shade, allowing them to avoid excessive heat.
Soil Composition and Watering
Wallflowers prefer alkaline soil with a pH range between 7.0 and 9.0. It is important to choose a well-draining soil composition that aligns with these alkaline conditions. This helps to maintain healthy root systems by keeping the roots dry. As wallflowers are drought-tolerant plants, they do not require frequent watering once established. However, during their initial growth phase, it is essential to provide sufficient water. Once they have become established, reduce the frequency of watering, as they can withstand dry soil conditions.
Temperature and Humidity Considerations
Wallflowers have different treatment requirements based on the prevailing temperatures in their growing region. In warmer climates, wallflowers can be regarded as perennials, meaning they have the ability to regrow and persist over multiple years. However, in colder climates, it is advisable to treat wallflowers as annuals since their foliage tends to die back during cooler weather conditions.
To ensure successful cultivation, it is crucial to consider the temperature and select the appropriate approach accordingly. In warmer regions, you can expect wallflowers to thrive and continue growing in subsequent seasons. Conversely, in colder areas, wallflowers are better utilized as annuals, as their growth may be limited due to the adverse effects of low temperatures.
Fertilization Practices
When it comes to fertilizing wallflowers, it is generally not recommended to apply additional fertilizers. Instead, it is beneficial to amend the soil with compost during the initial planting process. Incorporating compost into the soil provides essential nutrients and organic matter that can support the growth and development of wallflower. By ensuring the soil is enriched with compost at the time of planting, wallflowers can typically obtain the necessary nutrients they require to flourish.
Pruning Techniques for Wallflowers
Regular deadheading of wallflowers is essential to encourage the emergence of new blooms. Removing spent flowers promotes continuous flowering and helps maintain the plant’s aesthetic appeal. In warmer climates, when wallflowers cease to bloom, it is recommended to trim them back by approximately half of their size. This practice ensures the plants remain compact and encourages further growth.
In cooler climates, when the weather cools down and wallflowers stop blooming, it is advised to cut them back to a few inches above the ground. This pruning method helps protect the plants during colder periods and prepares them for new growth in the following season.
If you intend to cultivate wallflower as perennials, it is beneficial to shear them back after the initial bloom. This practice promotes dense and bushy growth, enhancing the overall appearance of the plant. It is crucial not to let the wallflowers become woody and leggy by delaying pruning, as this can lead to a decline in flower production over time. Pruning also helps prevent plants from self-seeding, although you may choose to allow some seeds to set if desired, especially considering their relatively short lifespan.
Potting and Repotting Wallflowers
When potting low-maintenance wallflowers, it is important to select a container that provides adequate drainage. Opt for a well-draining container that is at least 6 inches larger than the plant’s root size. This ensures sufficient space for the roots to grow and prevents waterlogged conditions that could harm the plant.
As the wallflower’s roots begin to show through the drainage holes of the pot, it is recommended to repot the plant into a larger container. This process allows the roots to continue growing and provides ample room for the plant to thrive.
Types of Wallflowers
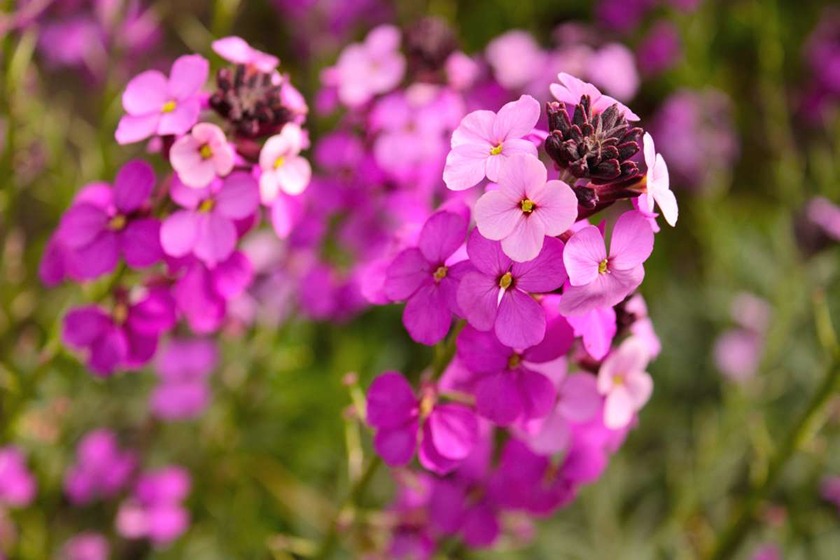
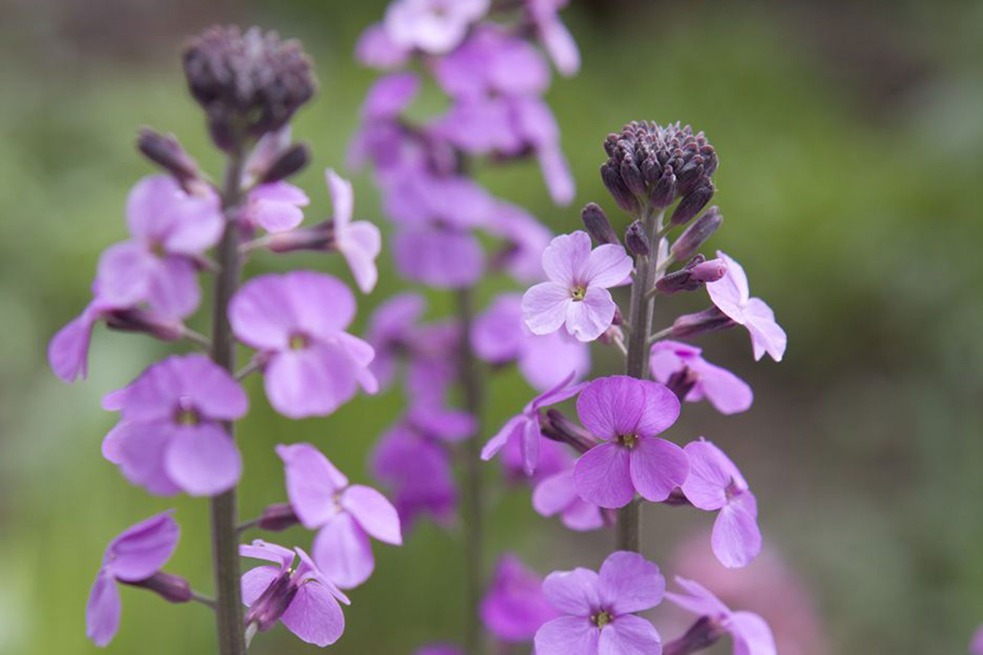
Bowles Mauve Wallflower
The Bowles Mauve Wallflower is a beloved classic variety known for its gray-green leaves, delicate pale purple flowers, and delightful fragrance. This variety thrives in Zones 6-10, making it suitable for a range of climates.
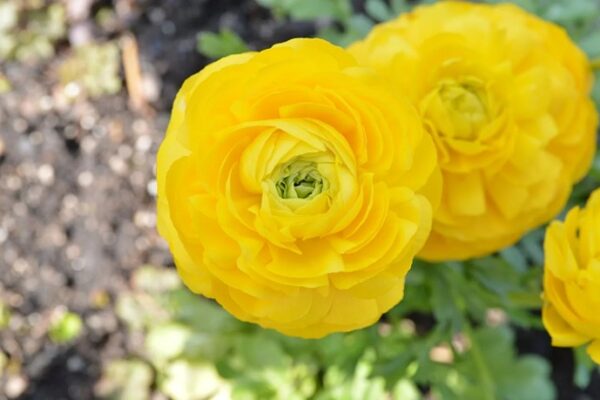
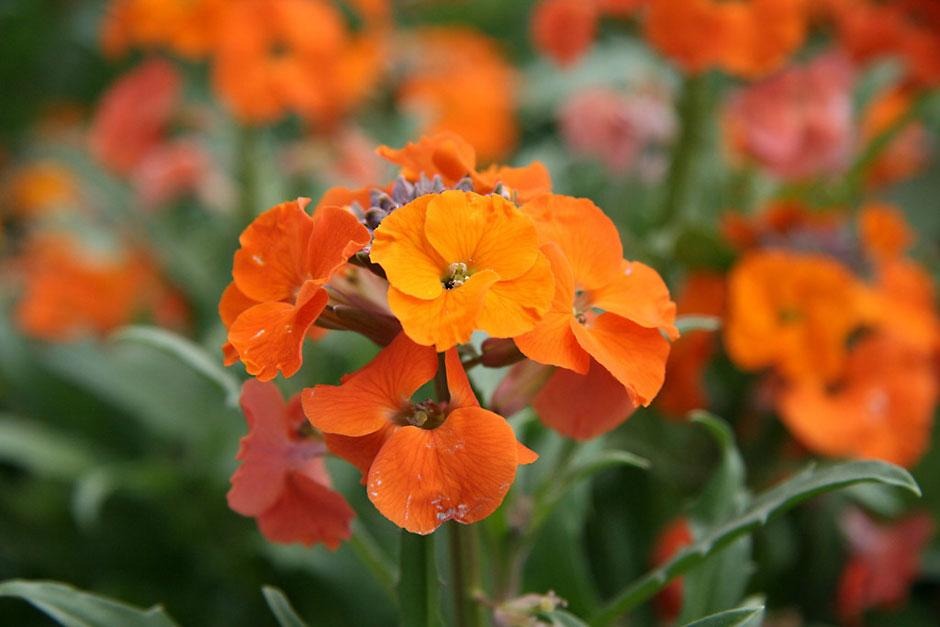
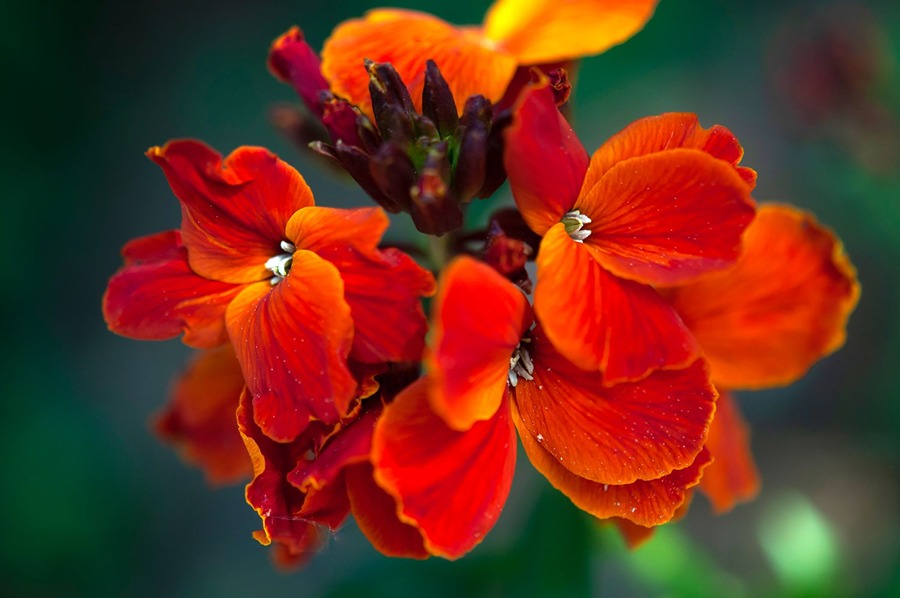
Fire King Wallflower
The Fire King Wallflower, scientifically known as Erysimum ‘Fire King,’ boasts eye-catching orange-red flowers that add a vibrant touch to the garden. This variety typically grows to a height of 16 inches and is well-suited for Zones 3-7.
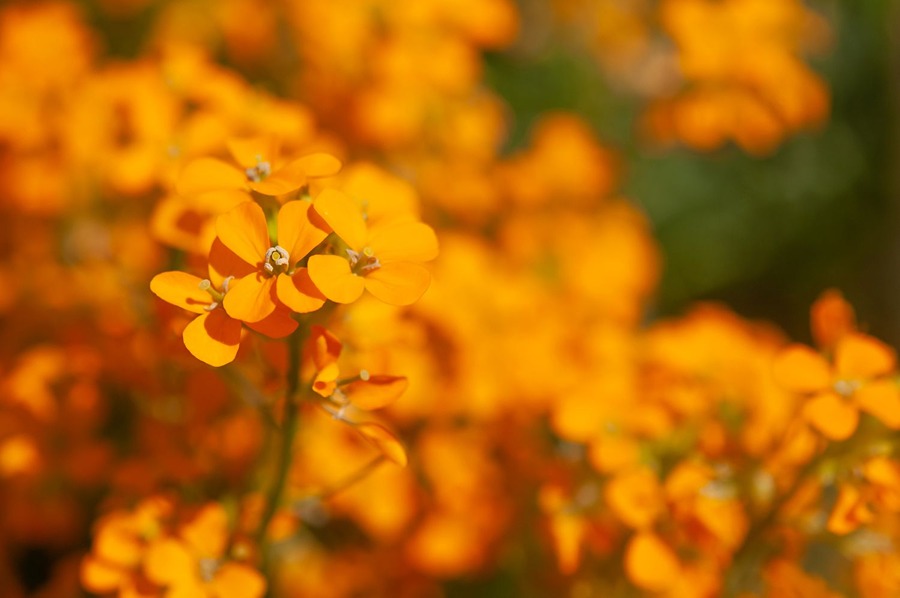
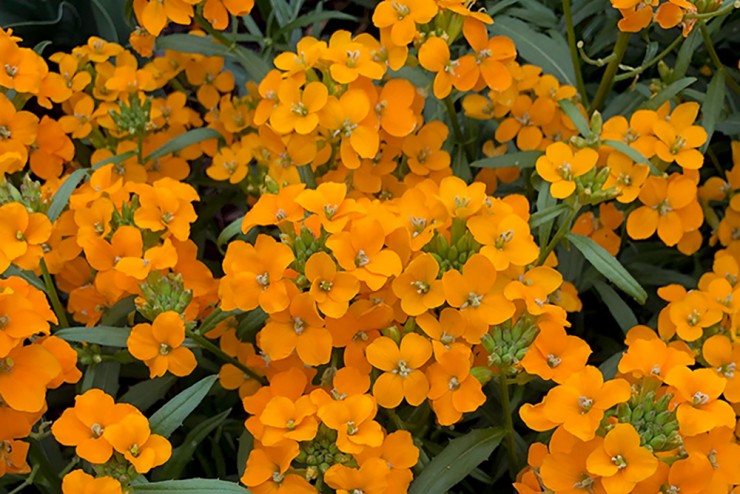
Orange Bedder Wallflower
The Orange Bedder Wallflower, also known as Erysimum ‘Orange Bedder,’ showcases vibrant clusters of bright orange flowers. It is a compact variety, reaching a height of approximately 1 foot. This particular type of wallflower is recommended for Zones 3-7, offering a burst of color to gardens within that range.

Dealing with Pests and Problems
Wallflowers, due to their preference for drier conditions, are generally less prone to insect infestations compared to many other plants. Common pests like fleas and cabbage worms are not major concerns for wallflowers. To further reduce the risk of infestation, it is advisable to avoid planting them in close proximity to vegetables, as this can attract pests that might affect wallflowers.
Certain diseases, such as powdery mildew and rust, can affect wallflowers. Powdery mildew can be addressed by using neem oil, which is effective in eliminating this fungal infection. For rust, a weekly sprinkling of sulfur can be used as a treatment.
Propagating Wallflowers
Wallflowers can be propagated using plant cuttings. Begin by selecting a stem that has at least one leaf node. Remove any flowers and leaves from the bottom half of the cutting. Dip the cut end in rooting hormone to encourage root development. Insert the cutting into a potting mix, ensuring it is deep enough to provide stability. A 4-inch pot is generally suitable for this purpose. Water the cutting and wait for it to demonstrate resistance when tugged, indicating that roots have formed. At this point, the cutting is ready for planting and can be transferred to its permanent location.
Companions Plants for Wallflowers
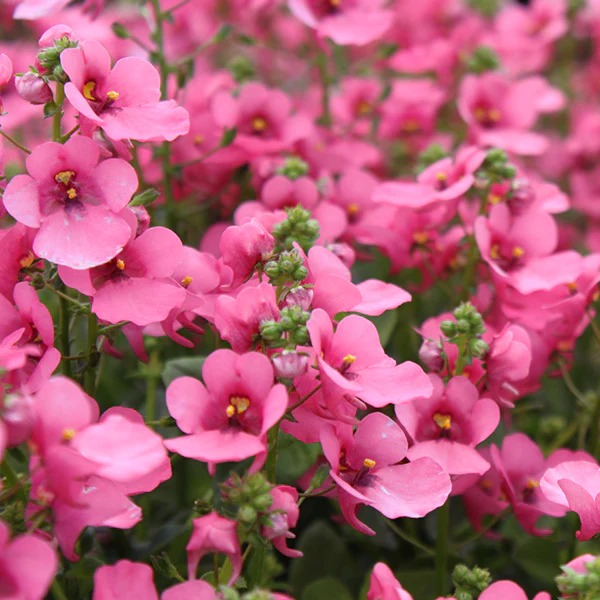
Diascia
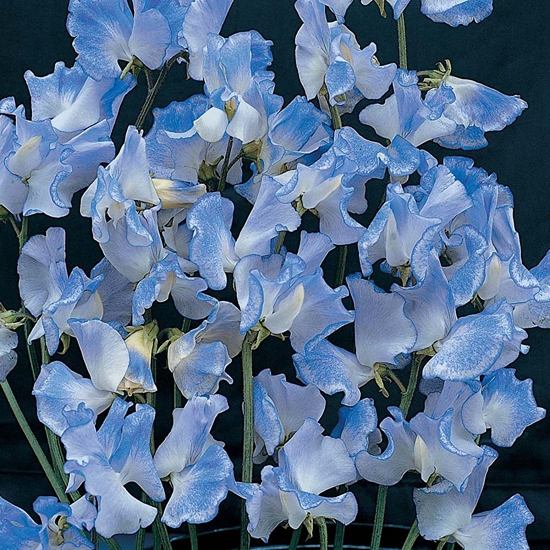
Diascia is a flower similar to snapdragons and can be found more frequently in garden centers. It presents a range of pink shades, from cool bubblegum pinks to warmer hues like peach, coral, and salmon. While it is a perennial in the southernmost states, it acts as a cool-season annual in other regions. Planting diasca a few weeks before the last frost in your area allows for early fall color. This companion plant thrives in Zones 8-11.
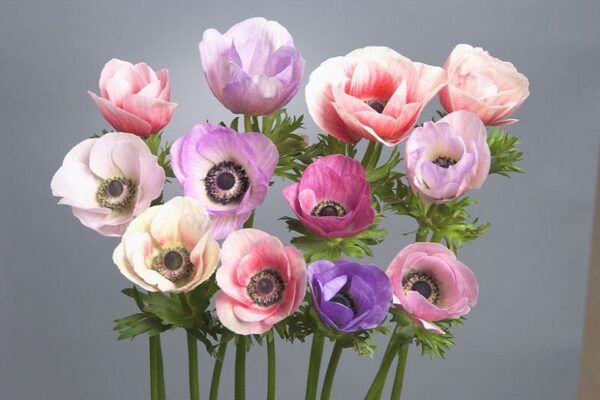
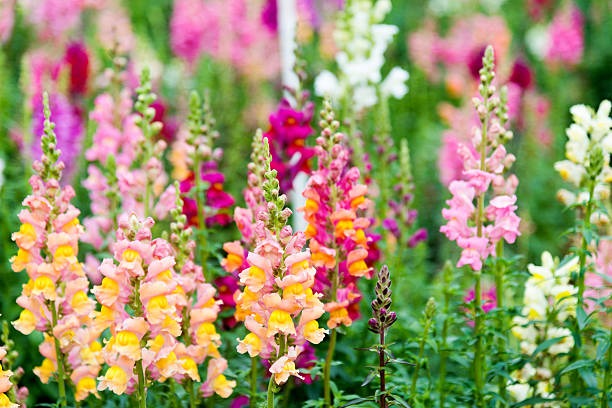
Snapdragon
Snapdragons are cool-season annuals that bloom in early spring, precisely when warm-season annuals are being planted. Their exquisite flowers display an array of stunning colors, with each flower offering its unique variations. Apart from their visual appeal, snapdragons are excellent choices for cut flowers. They also contribute to the autumn landscape with their vibrant colors. Snapdragon plants are well-suited for Zones 7-10.
Stock
Stock, an annual plant, flourishes in the spring season and should be planted a few weeks before the final frost date in your region. It thrives in cooler temperatures but ceases blooming once hot weather arrives. Stock plants are highly valued as cut flowers, adding a lovely fragrance to bouquets and borders. They prefer full sun or partial shade and thrive in moist, well-drained soil. This companion plant is best suited for Zones 7-10.