How to Test Soil pH for Plant Growth
Discover effective techniques and methods on how to test soil pH for plant growth, ensuring healthy and vigorous plants in your garden. Soil fertility and soil pH are factors that can be overwhelming for both novice and experienced gardeners. However, understanding your soil doesn’t have to be a mystery if you begin by conducting a comprehensive soil test. By testing your soil, you can ensure that you provide the optimal conditions for the plants you are cultivating. Neglecting a soil test may result in adding unnecessary products to your garden, which can be harmful to certain plants, or wasting money on soil amendments that are not required.
Gain valuable insights on how to test soil pH for plant growth and create an optimal environment for your plants to thrive. A soil test offers valuable insights, including information about your garden’s pH level. Soil pH measures the acidity or alkalinity of the soil on a scale from 0 to 14, with 7 being considered neutral. A pH value below 7 indicates acidic soil, while a value above 7 signifies alkaline soil. Understanding your soil’s pH is crucial because different plant species have varying pH preferences. For instance, plants like blueberries and azaleas thrive in acidic soil and struggle to flourish in highly alkaline conditions. Nitrogen testing is typically not included in a standard soil test due to the element’s mobility in the soil, resulting in variable nitrogen levels.
In addition to pH, a standard soil test also assesses the levels of primary nutrients such as phosphorus (P) and potassium (K), secondary nutrients like calcium, magnesium, and sulfur, as well as micronutrients that plants require in trace amounts, including zinc and manganese. These comprehensive test results offer personalized information about the specific amendments your lawn, perennial plants, and vegetables need to foster robust growth. Learn the proven strategies and procedures on how to test soil pH for plant growth, enabling you to provide the ideal conditions for maximum plant health and vitality.

How to Collect a Soil Sample
1. Gathering the Samples
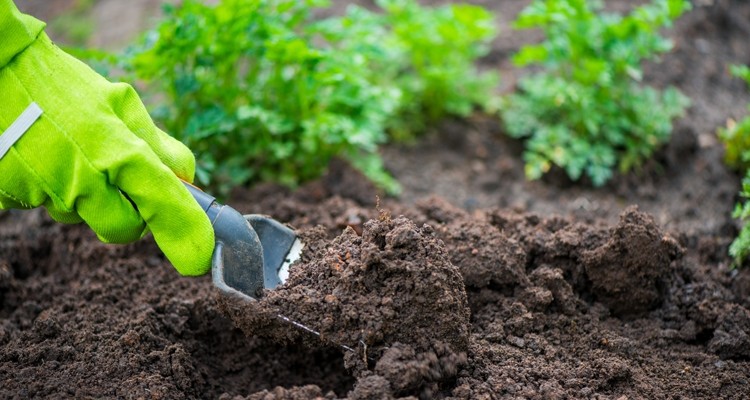
Use a clean garden trowel to collect scoopfuls of soil from various parts of your yard, ensuring you collect 6 to 8 samples from different spots. Each scoopful should be approximately ¼ cup in volume.
2. Digging to the Appropriate Depth
When collecting samples from your lawn, make sure to dig 3 to 4 inches deep. For perennial beds or vegetable gardens, go deeper and collect samples at a depth of 6 to 8 inches. This depth allows for a representative sample of the soil composition.
3. Combining the Samples
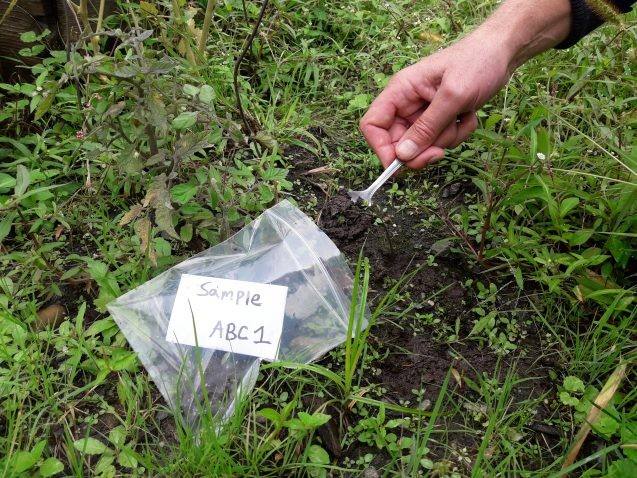
Combine all the collected samples in a plastic zipper-top bag, ensuring you remove any plant debris. It is important to have a homogeneous mixture of the soil samples to obtain accurate test results.
4. Ensuring Soil Dryness
Before shipping the soil sample for testing, ensure that the soil is thoroughly dry. Wet soil cannot pass through the testing equipment effectively. If the soil is damp, spread it out on a surface such as a cookie sheet and allow it to air-dry in the shade or in a garage. Keep the soil out of direct sunlight during the drying process.
5. Shipping the Sample to the Lab
Once the soil is dry, package the sample securely and ships it to the designated soil lab. Most soil labs provide a form that you need to fill in, indicating the type of crop or plants you are growing. This information will guide the lab in providing appropriate recommendations for soil amendments and their application rates.
6. Separate Tests for Different Planting Areas
To ensure accurate results, conduct separate tests for each type of planting area in your yard. Avoid mixing samples from your lawn, shrub and perennial beds, and vegetable garden. Different areas may have received varying fertilization treatments, which could skew the test results.
7. Interpreting the Results
Within a few weeks, you should receive the results of your soil tests. If you require assistance in interpreting the results, reach out to your county extension agent. They can provide valuable guidance and insights based on the specific characteristics of your soil and local growing conditions.
How to Test Soil pH?
To accurately test soil pH, it is recommended to seek assistance from your local university cooperative extension office. Each state has its own extension service, and you can easily find the one in your area. The advantage of consulting with your local agent is their familiarity with the soil conditions specific to your region. The equipment they use to evaluate soil samples is calibrated to account for the types of soil and growing conditions in your locality. This ensures that any recommendations provided are tailored to your local conditions and will be most effective for your gardening needs. It is important to note that recommendations based on a different area may not be applicable or useful for your specific situation if you don’t reside in that region.
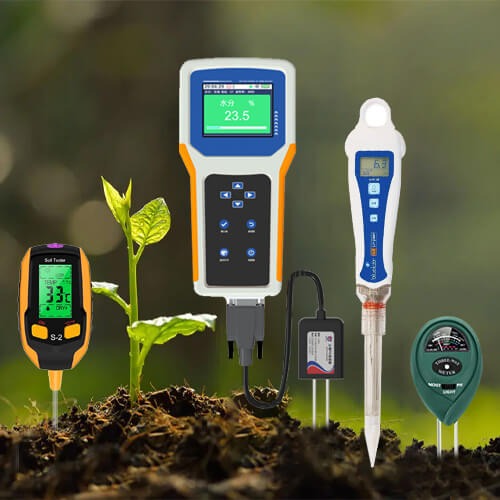
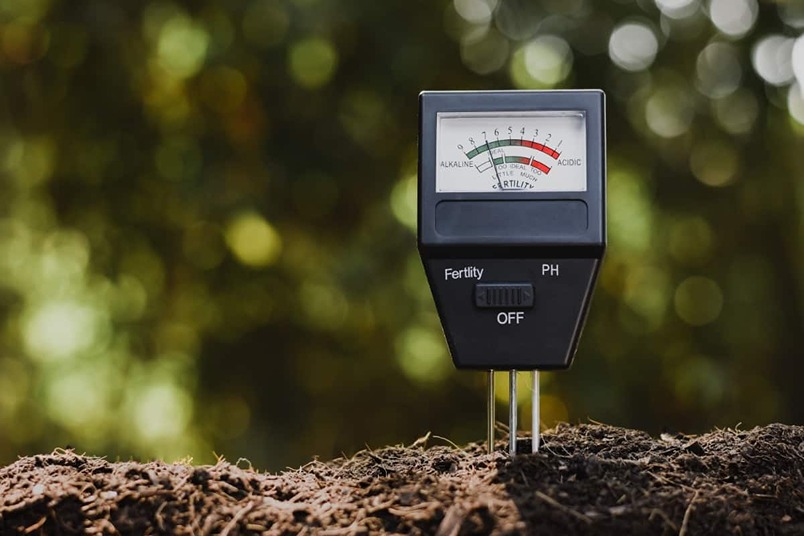
While you may find soil test kits available for purchase at larger retail stores, it is important to recognize their limitations. While these kits can provide you with an estimate of the soil pH, they typically do not offer a comprehensive breakdown of other specific elements present in the soil or provide guidance on how to adjust them. Therefore, relying solely on a home testing kit may not provide you with the complete information necessary to make informed decisions about your soil amendments. For a more thorough understanding of your soil’s composition and appropriate adjustments, it is best to consult with your local university cooperative extension office.
Preparing your garden soil for successful plant growth involves implementing techniques that create an optimal environment, and one crucial aspect is maintaining good soil pH.
Determining the Optimal Time for Soil pH Testing
Soil pH testing can be conducted at any time throughout the year. However, the most favorable period for testing your soil is a few months prior to planting, allowing ample time for necessary pH adjustments. This timing is crucial as it provides sufficient opportunity for any soil amendments required to take effect and influence the pH level accordingly.
By conducting the soil pH test well in advance of planting, you allow yourself the necessary time to make appropriate adjustments to create the optimal pH conditions for your plants. This proactive approach ensures that the desired pH level is achieved before introducing your plants to the soil.
Making adjustments to the pH of your soil is not an instantaneous process. It requires time for the amendments, such as adding organic matter or applying soil conditioners, to interact with the existing soil composition and influence its pH. Different amendments may take varying lengths of time to modify the pH level effectively. Therefore, conducting the soil pH test a few months before planting allows you to address any imbalances and implement the necessary amendments well in advance, ensuring that the soil is adequately prepared for optimal plant growth.
By testing your soil early, you gain valuable insights into its current pH status, enabling you to take appropriate actions and make the necessary adjustments to create an environment conducive to your preferred plant species. This proactive approach increases your chances of success in gardening endeavors, as you can establish ideal pH conditions for your plants ahead of time, promoting healthier growth and optimal nutrient uptake.
Determining the Frequency of Soil pH Testing
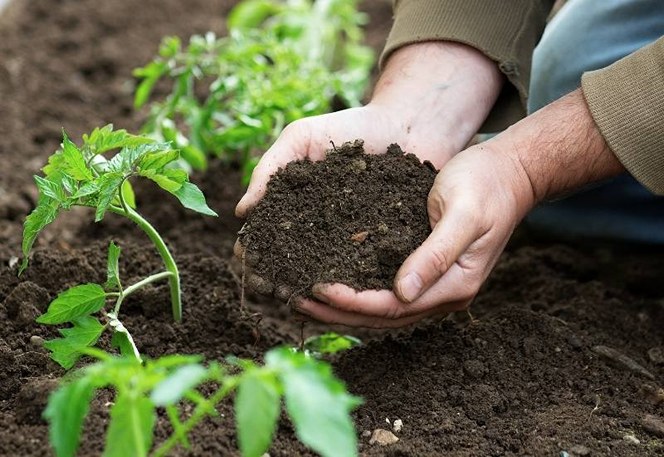
While there is no universal recommendation that applies to all situations, experts generally suggest conducting soil pH testing every one to two years. This timeframe allows for regular monitoring of your soil’s pH levels and ensures that any potential imbalances are promptly identified and addressed.
However, it is important to note that the frequency of soil pH testing may vary based on specific circumstances. If you have recently made amendments to adjust the soil pH, it is advisable to repeat the test after a few months to evaluate the effectiveness of the adjustments. This additional testing serves as a means of assessing whether the desired pH range has been achieved or if further amendments are necessary.
Furthermore, it is essential to conduct soil pH testing whenever significant changes are made to your gardening practices or the environment. For instance, if you introduce new plants, implement different fertilization methods, or alter irrigation practices, it is recommended to re-evaluate the soil pH levels. These changes have the potential to impact the pH balance, and regular testing allows you to stay informed and make any necessary adjustments accordingly.
By periodically testing the soil pH, you ensure that your plants have a favorable growing environment. Monitoring the pH levels allows you to identify potential issues early on, such as soil becoming too acidic or alkaline, which can adversely affect plant health and nutrient availability. Regular testing provides you with the information needed to take appropriate measures to maintain or restore optimal pH conditions, thereby promoting the overall success of your gardening endeavors.
