Miniature Roses Care: 11 Types empowered
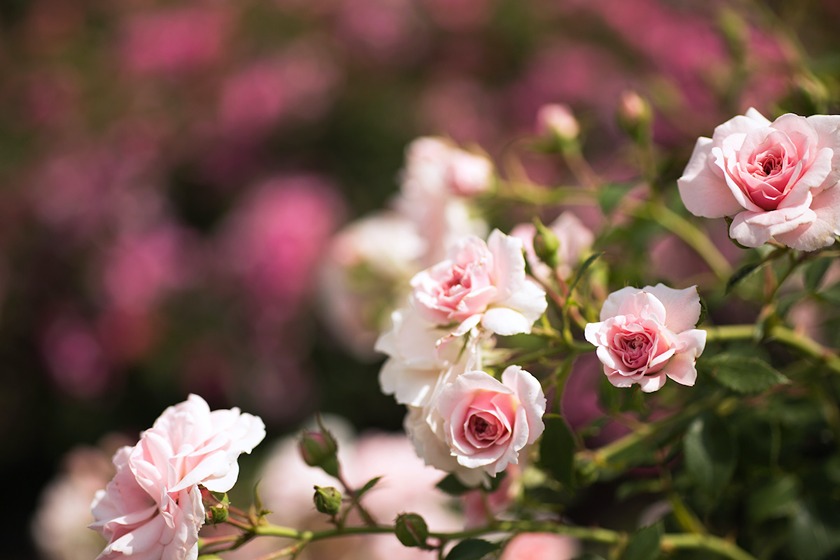
Individuals with limited gardening space can successfully grow roses by cultivating miniature roses in containers or in garden beds. Miniature roses were accidentally developed in the 1930s through the hybridization of roses. These perennial plants typically remain under 2 feet in height and require basic care similar to regular-sized roses, such as deep watering, ample sunlight, and regular fertilization. While some miniature roses maintain the upright growth habit seen in their larger counterparts, they also come in climbing and cascading varieties. Apart from their aesthetic appeal and pleasant fragrance, miniature roses possess the advantage of lacking thorns and exhibiting strong reblooming characteristics.
Although miniature roses are highly resilient, they require additional protection during winter in colder climates. To prevent the plant from regressing to its roots in Zone 5 and below, it is advised to cover the plant with a mound of soil.
Where to Plant Miniature Roses
The ideal planting locations for miniature roses depend on the specific climate zones. They can be planted outdoors in Zones 4-11. However, in colder regions, it is recommended to initially grow them in containers indoors and then transfer them outside during the spring season. When selecting a planting spot, it is important to choose an area that receives a minimum of 6 to 8 hours of sunlight each day. While miniature roses can tolerate partial sun, they may not bloom as abundantly in such conditions. For optimal growth, these plants require soil that is rich in nutrients, has a loamy texture, and is well-drained.
Miniature roses are versatile in their use and can be effectively utilized as flowerbed edging, adding a charming touch to the front of borders alongside perennials and annuals, or forming low hedges.

How and When to Plant Miniature Roses
When it comes to planting miniature rose bushes, the process is similar to planting full-size rose bushes. Begin by preparing a hole that matches the height of the pot in which the rose bush was originally grown, making it approximately a foot wider. Once the plant is removed from the pot, gently loosen the roots to help them adapt to their new surroundings. Place the spread-out roots on the surface of the soil that has been enriched with organic matter. Afterward, water the newly planted rose bush and apply a layer of mulch around it. This mulch helps to retain moisture in the soil and suppresses weed growth.
Tips for Caring for Miniature Roses
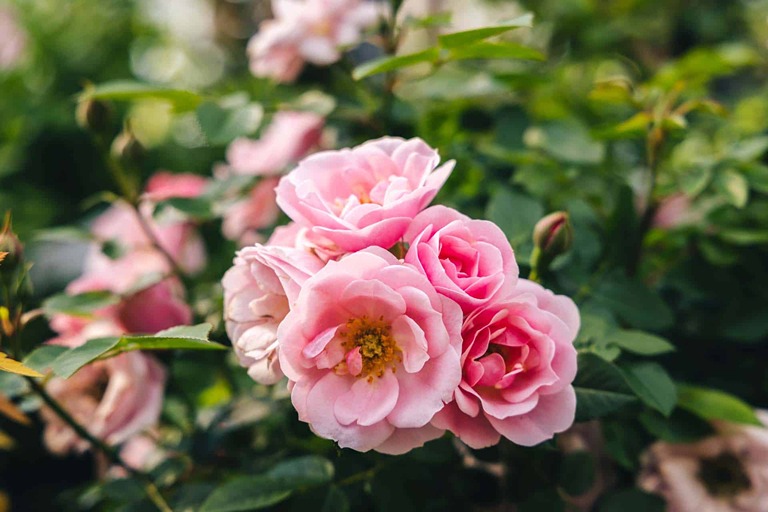
Caring for miniature roses is relatively straightforward, with a focus on providing them with adequate sunlight, water, and well-draining soil.
Sunlight
To ensure the healthy growth of miniature roses, it is best to place them in an area that receives full sun for at least six to eight hours per day. Insufficient sunlight can lead to sparse foliage. Furthermore, ample sunlight plays a crucial role in enhancing disease resistance.
Soil and Water
Miniature roses thrive in loamy, nutrient-rich soil that offers good drainage. When planting them in containers, it is advisable to use a lightweight soil mixture that is rich in nutrients and drains well to prevent root rot. Deep watering is essential, and it is recommended to water the plants when the soil is dry, providing approximately 1 inch of water per week. It’s important to note that potted miniature roses, especially those grown indoors, may require more frequent watering compared to those planted in the garden.
When watering miniature roses, direct the flow of water at the base of the plant to avoid wetting the leaves and blooms, as this can increase the risk of disease and fungal issues.
Temperature and Humidity
Miniature roses thrive in moderate temperatures, with the optimal range being around 70ºF. It is advisable to provide them with an environment that maintains these temperatures for their best growth. When the temperature drops below freezing, it is important to protect potted miniature rose plants by bringing them indoors to shield them from the cold. For garden-planted roses, an effective way to safeguard them is by adding extra soil around the base of the plants and applying a layer of mulch on top.
FERTILIZER
To ensure abundant blooming throughout the season, it is essential to provide miniature roses with sufficient fertilization. Both commercial rose food and all-purpose fertilizers are suitable options. Start fertilizing in spring when the first leaves begin to appear, and repeat the process after each period of abundant blooming. It is recommended to consult the instructions on the product label to determine the appropriate amount of fertilizer to use. Approximately six to eight weeks prior to the first frost, it is advisable to cease fertilization to allow the plants to prepare for the dormant period.
PRUNING
To maintain the health and shape of miniature roses, it is recommended to prune them in late winter or early spring, before new blooms start to appear. Begin by removing any dead wood, cutting it away from the plant. Additionally, trim approximately one-third of the plant to stimulate growth and maintain its desired shape. Deadheading, the practice of removing spent flowers, should be done on a weekly basis throughout the season to encourage continuous blooming and promote new growth.
Types of Miniature Roses
1. Amy Grant Rose
Rosa ‘Amy Grant’ showcases light pink blooms in a classic hybrid tea form, resting gracefully on glossy foliage that resists diseases. This variety grows to a height and width of 2 feet. Suitable for Zones 5-9.
2. Baby Boomer Rose
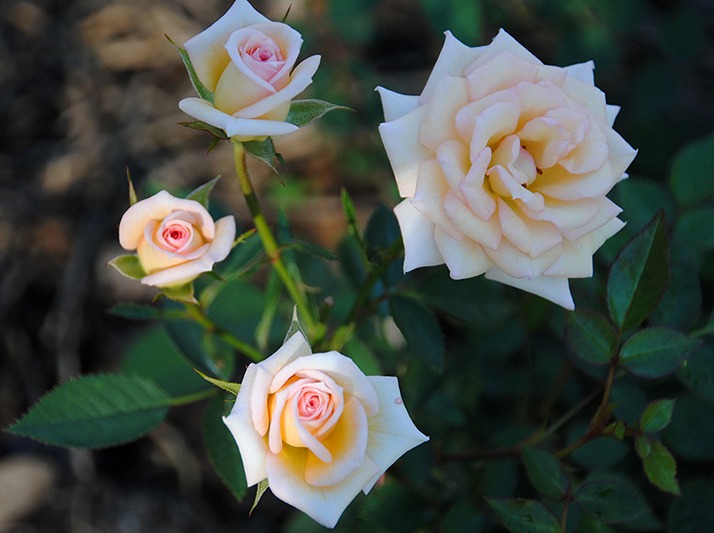
Rosa ‘Baby Boomer’ presents stunning baby-pink blooms atop long stems, making it an excellent choice for cut flowers. Its glossy, dark green foliage adds to its allure. The plants reach a height and width of 2 feet. Suitable for Zones 5-10.
3. Baby Love Rose
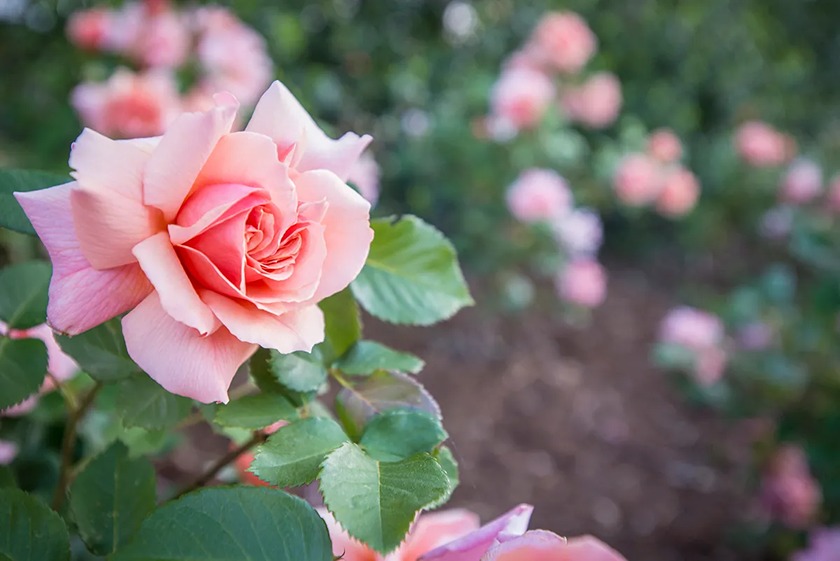
Rosa ‘Baby Love’ is a remarkable performer among roses, whether big or small. Its single buttercup-colored blooms continuously blanket the upright plant. The bright green foliage displays exceptional disease resistance. This variety grows to a height of 3 feet. Suitable for Zones 5-9.

4. Black Jade Rose
Rosa ‘Black Jade’ boasts midnight-red buds that unfurl into velvety red flowers, creating a captivating display. The plant attains a height and width of 2 feet. Suitable for Zones 4-10.
5. Carrot Top Rose
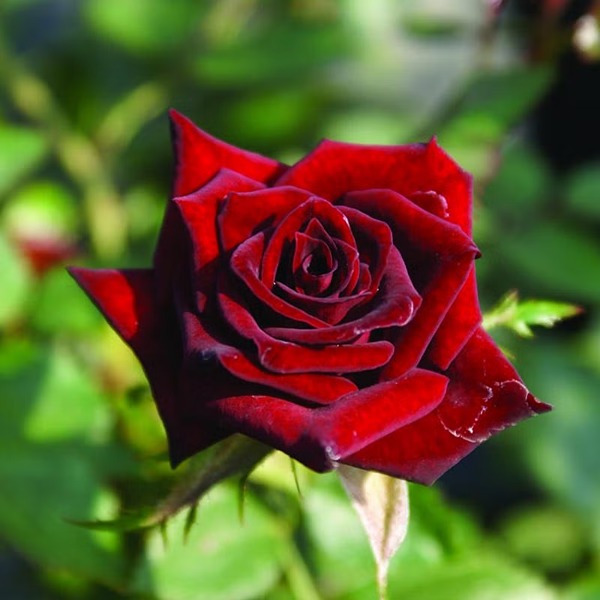
Rosa ‘Carrot Top’ produces sizzling orange double-petal flowers. These rounded plants grow to a height of 12-16 inches. Suitable for Zones 5-9.
6. Dancing Flame Rose
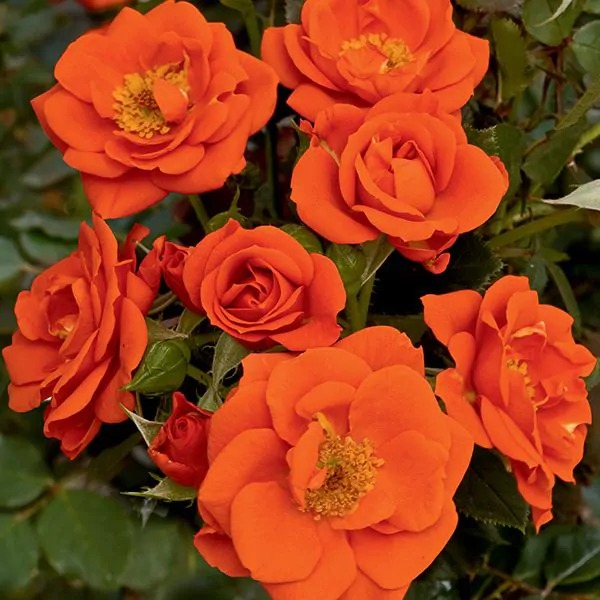
Rosa ‘Dancing Flame’ exhibits cerise-pink edging on yellow petals, adding a touch of elegance. With abundant blooms and disease-resistant glossy foliage, it reaches a height and width of 2 feet. Suitable for Zones 5-9.

7. Gourmet Popcorn Rose
Rosa ‘Gourmet Popcorn’ showcases cascading clusters of snowy-white, fragrant flowers on a disease-resistant plant throughout the season. It reaches a height of 2 feet. Suitable for Zones 5-9.
8. Little Artist Rose
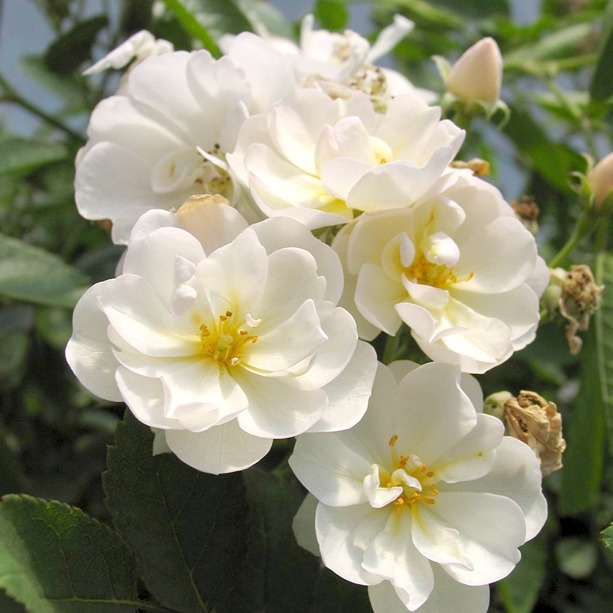
Rosa ‘Little Artist’ displays semidouble ruffled blooms that unfold to reveal a captivating color scheme, with scarlet petals and large white centers. This variety blooms profusely and grows to a height of 16 inches. Suitable for Zones 5-9.
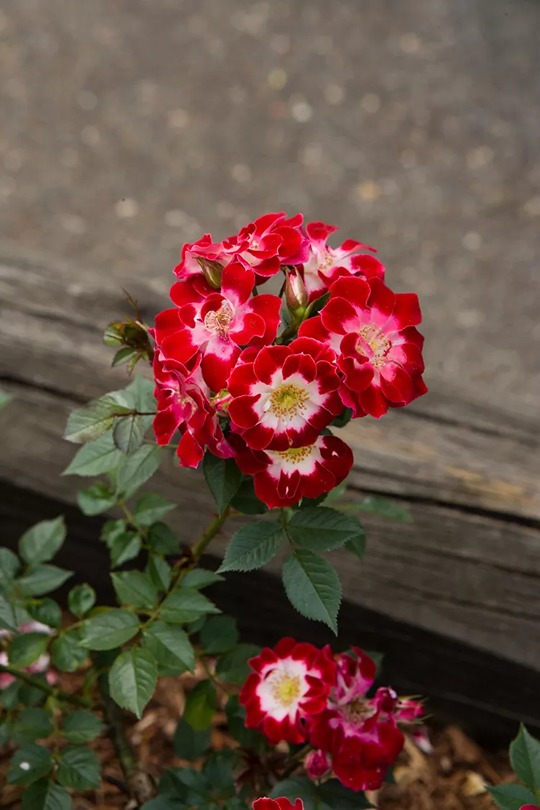
9. Magic Carousel Rose
Rosa ‘Magic Carousel’ presents rounded petals adorned with red edges, beautifully framing the snow-white centers. The vigorous plants grow to a height and width of 18 inches. Suitable for Zones 5-11.
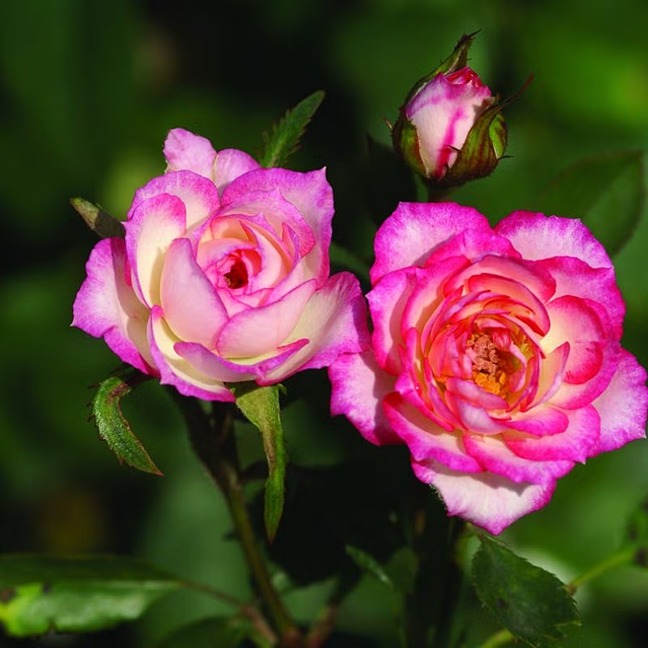
10. Rainbow's End Rose
Rosa ‘Rainbow’s End’ features blooms with lemon-yellow petals highlighted by scarlet edging. The colors remain vibrant whether grown indoors or outdoors. It reaches a height and width of 22 inches. Suitable for Zones 4-11.
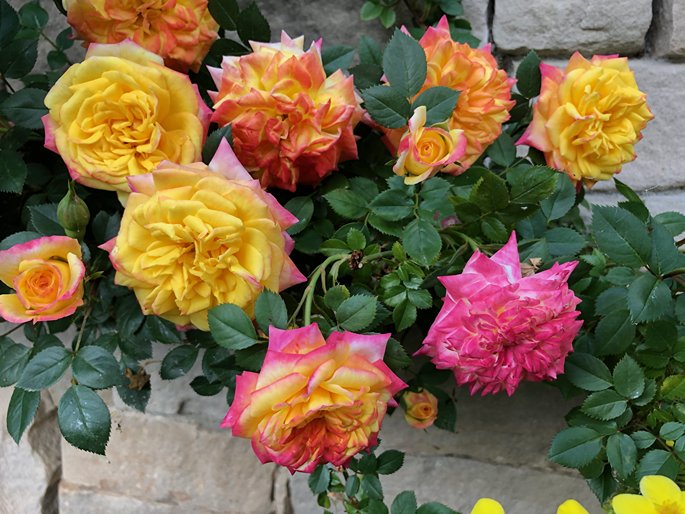
11. Sun Sprinkles Rose
Rosa ‘Sun Sprinkles’ is an award-winning variety with perfectly formed, deep yellow blooms and a delightful spicy scent. It generously produces flowers and displays glossy, dark green foliage. It grows to a height of 2 feet. Suitable for Zones 5-9.

Potting and Repotting
Miniature Roses When potting miniature roses, select a container that is 6 to 8 inches deep and has proper drainage holes. Adding a layer of gravel at the bottom of the pot helps facilitate drainage. It is important to use potting soil that is rich in nutrients and promotes proper drainage. For indoor potted miniature roses, it is crucial to place them in a location where they receive abundant sunlight for the majority of the day, as this is essential for their thriving. Moreover, indoor plants may benefit from some additional humidity to maintain their health.
Pests and Issues
To prevent fungal diseases, such as powdery mildew, from affecting your miniature roses, it is important to promote good airflow around the plants. Avoid overhead watering and instead, water them at the base to minimize moisture on the leaves. By implementing these practices, you can reduce the risk of fungal infections.
In the event of infestation by insects like Japanese beetles or mites, it is advisable to take immediate action. One effective method is to spray a forceful stream of water directly onto the plants, which can help dislodge and deter pests. Alternatively, insecticidal soap can be used as a natural remedy to control the infestation. If the pests persist and cause significant damage, the use of chemical insecticides may be necessary as a last resort to minimize further harm to the plants.
Propagating Miniature Roses: A Step-by-Step Guide
To propagate miniature roses, the most common method is through cuttings. Follow these steps to successfully propagate your miniature roses:
- Select Healthy Cuttings:
Choose healthy stems for your cuttings. Snip the base of the stem at an angle to enhance water absorption.
- Prepare the Soil Mix:
Create a soil mix by combining moist soil with perlite. This mixture promotes good drainage and aeration.
- Plant the Cuttings
Insert the prepared cuttings into the soil mix, ensuring that they are planted deep enough for stability. Avoid overwatering the cuttings or the soil. Instead, mist the soil gently to provide adequate moisture.
- Cover with Plastic
Place a plastic bag over the cuttings, ensuring that it does not touch them directly. This cover helps to create a humid environment that promotes root development.
- Provide Proper Lighting
Keep the cuttings indoors in a well-lit area, but avoid exposing them to direct sunlight. Bright, indirect light is preferable for their growth.
- Check for Root Growth
After approximately one to two months, gently tug on the stem to check for resistance. If you feel resistance, it indicates that the stem has developed roots. At this point, the plastic bag can be removed.
- Growth of Leaves
Once the stem starts growing leaves, it is a sign of successful propagation. At this stage, you can choose to pot the propagated stem or transplant it to your garden.


