Powerful Techniques to Prepare Your Garden Soil
Having a nutrient-rich and healthy soil is crucial for the well-being of your plants. Whether you’re starting a new garden or preparing existing beds for the upcoming growing season, it is important to devote time to assess and improve your soil, providing an optimal environment for your beloved greenery.
Take the time to properly prepare your garden soil, as it will lay the foundation for vibrant and thriving plants. Before you start planting, it is essential to prepare your garden soil to create the perfect environment for healthy growth. Don’t overlook the importance of preparing your garden soil before planting; it can make all the difference in the success of your garden.
Irrespective of the time of year, the size of your garden, or your level of expertise in gardening, considers this comprehensive guide your go-to resource for all things soil-related. It covers essential aspects such as understanding what constitutes healthy soil, including its appearance and the various types and textures available. Additionally, you’ll find valuable information on maintaining a thriving garden, such as assessing drainage, ensuring soil health, and more. Follow each step carefully, and by the time you reach the end, your soil will be primed for planting. Don’t forget to bookmark this page for future reference, as a successful garden begins with a solid foundation, and you wouldn’t want to overlook this critical aspect.
When it comes to cultivating a thriving garden, having a clear understanding of what healthy soil looks like is crucial. Healthy soil not only provides essential support to plant roots but also ensures their access to vital nutrients, water, and air. It strikes a delicate balance by being fast-draining yet moisture retentive, neither too compact nor too loose. The upper layer of soil, known as topsoil, is of particular significance as it serves as a biologically active zone teeming with earthworms, microbes, and other beneficial organisms.
Within the topsoil, the presence of earthworms plays a vital role in improving drainage and aeration through their tunneling activities. Furthermore, their castings enrich the soil by contributing essential nutrients. Additionally, the decomposition of organic matter like ground bark and vegetable remnants results in the formation of a dark, soft substance called humus. While the subsoil, located beneath the topsoil, contains some plant nutrients, it is less conducive to root development compared to the topsoil. Therefore, focusing on enhancing the quality of the topsoil can yield the most significant benefits for plant health.
To attain healthy topsoil, there are several effective approaches you can adopt. One method involves treating your planting beds with organic amendments, which help enrich the soil and improve its structure. Another option is to incorporate cover crops into your gardening practices. These crops not only add organic material to the soil but also contribute to its loosening and aeration. Organic gardeners, in particular, prefer using natural fertilizers as they offer a sustained release of nutrients, promoting the growth of beneficial soil-dwelling organisms.
Prepare your Garden Soil Texture: A Step-by-Step Guide
Assessing the texture of your soil is a fundamental step in understanding its composition and determining the necessary amendments for optimal plant growth. The following guide will assist you in checking your soil texture accurately.
Step 1: Wet and Dry the Soil
Begin by moistening a specific area of soil thoroughly, allowing it to dry out naturally for a day. This process ensures that the soil reaches an ideal state for evaluation.
Step 2: Take a Handful of Soil
Take a handful of the dried soil and firmly squeeze it within your fist. Pay close attention to the sensation and characteristics of the soil.
Step 3: Analyzing the Results
Based on your observations, you can determine the soil’s texture using the following indicators:
- Clay Texture: If the soil forms a compact ball and feels slippery in your hand, it predominantly consists of clay particles. Clay soil tends to hold water for extended periods and may become heavy when wet.
- Sandy Texture: When the soil feels gritty, doesn’t retain its shape, and crumbles easily when you open your hand, it indicates a sandy texture. Sandy soil tends to drain quickly and can be challenging to retain moisture.
- Loam Texture: If the soil is slightly crumbly, yet still holds a loose ball shape, it signifies a loam texture. Loam soil is considered ideal for gardening since it offers a balanced combination of water drainage and retention.
Step 4: Making Soil Amendments
Once you have determined the soil texture, you can proceed with the necessary amendments to improve its quality. Various organic materials are commonly available for this purpose. You can find them in 1- or 2-cubic-ft. bags at nurseries or in bulk at building suppliers. As a general guideline, you will need approximately one cubic yard of organic material to cover 100 square feet of planting bed to a depth of around 3 inches.
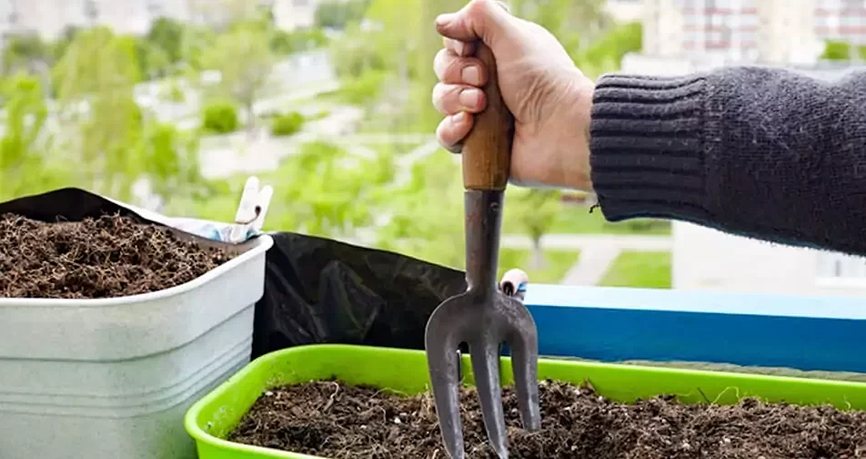
Various Soil Amendment Options
Discovering the most suitable soil amendments for your garden can greatly enhance its overall health and productivity. Below, we explore different types of soil amendments and their specific benefits:
1. Compost:
Compost is a valuable soil amendment derived from a mixture of grass clippings, chopped leaves, and other garden trimmings. It serves multiple purposes, contributing to both environmental sustainability and garden nourishment. Compost can be easily obtained from garden centers or created at home through the process of composting. To learn more about composting, refer to our comprehensive composting guide.
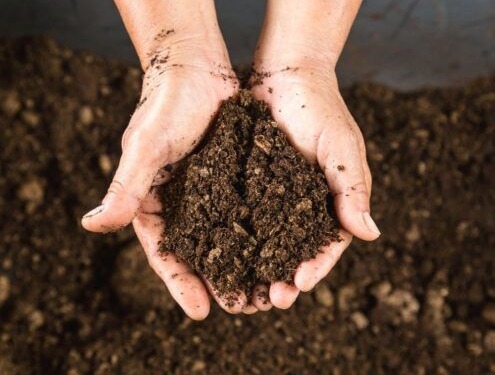
2. Manure:
Manure contains a rich concentration of plant nutrients, making it an excellent choice for soil amendment. However, it’s crucial to exercise caution when using manure. Fresh manure should never be applied directly to your garden as it may contain high levels of soluble salts that can harm plant roots. Instead, utilize only composted manure that has been adequately aged for at least a year. Additionally, ensure that the manure does not originate from animals grazed on herbicide-treated pastures, as these chemicals can pass through the animals’ system and negatively affect your plants. Composted cow manure is a popular option, widely available in bags at local garden centers, and it does not emit strong odors.
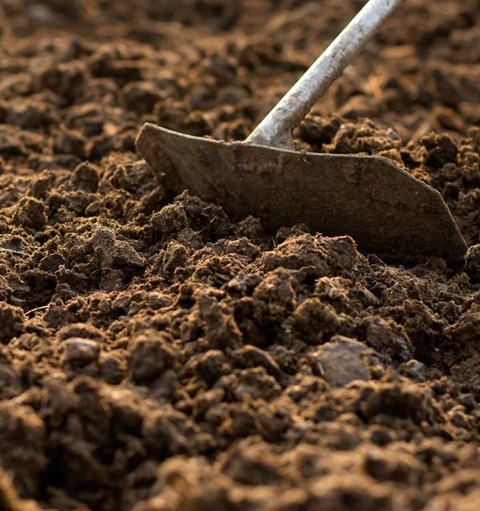
3. Wood Products:
In clay soils, ground bark proves to be a valuable amendment as it helps separate fine clay particles, improving soil structure. However, it’s important to note that as wood products decompose, they can deplete the soil’s nitrogen levels. To mitigate this issue, it is advisable to add nitrogen alongside the wood products to promote optimal plant growth. Some soil conditioners fortified with nitrogen are available for purchase, and it’s recommended to check the labels for specific information. Fresh wood chips should never be used as an amendment.
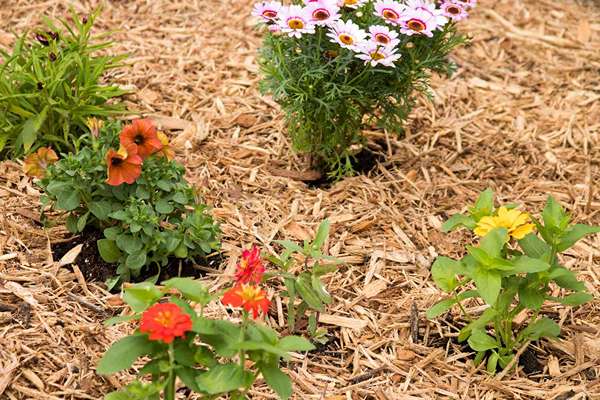
4. Sphagnum Peat Moss:
Sphagnum peat moss is known for its ability to acidify the soil. However, concerns have arisen regarding the potential environmental damage caused by the overmining of certain peat bogs. An alternative option is coir fiber, a by-product of the coconut fiber industry. Coir fiber possesses a similar texture to peat moss and is available in bales, bricks, and discs. When soaked in water, it expands to produce 5 to 10 quarts of lightweight material. It’s worth noting that coir fiber does not possess the same acidifying properties as peat moss.
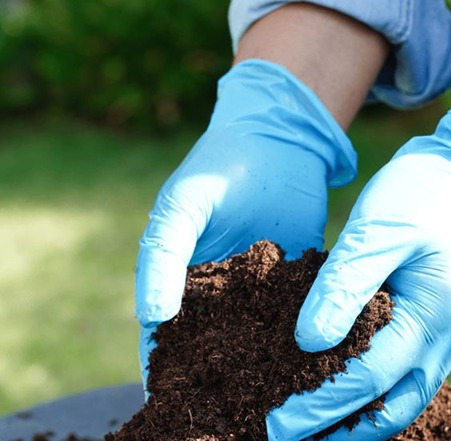
Enhancing Your Soil: Steps to Amend Your Garden Soil
Preparing your garden soil through proper amendments is essential for creating an optimal environment for plant growth. Follow the steps below to successfully amend your soil:
- Moistening and Drying the Soil: Thoroughly dampen the soil and allow it to dry for a few days before starting the amendment process. Avoid working with soil that is overly wet or completely dry, as it can lead to poor results.
- Digging and Removing Debris: Dig into the soil to a depth of approximately 10 inches. As you go, break up any dirt clods and remove stones or other debris. For smaller areas, a spading fork can be used, while larger beds may benefit from a rotary tiller for more efficient tilling.
- Incorporating Fertilizer: At this stage, it is advisable to add fertilizer to provide essential nutrients for plant growth. Spread the fertilizer evenly over the soil, following the recommended amount indicated on the label. Work the fertilizer into the topsoil, as this is where it will have the most significant impact on plant development.
- Mixing the Amendments: Using a spading fork or tiller, carefully mix the amendments, including the fertilizer, into the soil. Aim for an even distribution throughout the soil, ensuring that the amendments are thoroughly incorporated.
- Leveling the Bed: After incorporating the amendments, use a rake to level the bed, breaking up any remaining clumps of earth. This step helps create a smooth and uniform surface, preparing the soil for planting.
- Watering and Settling: Water the amended soil thoroughly, allowing it to settle for at least a few days before proceeding with planting. This period allows the improved soil to stabilize and provides a suitable foundation for successful plant growth.
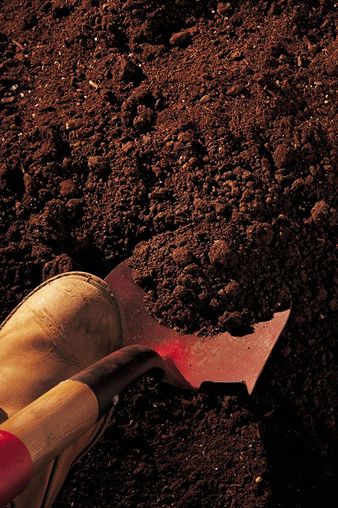
Assessing and Improving Soil Drainage: A Comprehensive Guide
Understanding the drainage characteristics of your soil is vital for maintaining a healthy and thriving garden. Follow the steps below to check your soil drainage and implement effective measures for improvement.
Step 1: Recognizing Poor Drainage
Poor drainage occurs when water accumulates in the soil’s pore spaces, preventing the entry of essential air required by plant roots and beneficial soil organisms. Several factors contribute to inadequate drainage, such as soil texture, low-lying areas, compaction from heavy machinery, and excessive foot traffic on planting areas.
Step 2: Evaluating Soil Drainage
To assess your soil’s drainage, perform a simple test. Dig a hole about 12 inches deep and wide in the area of concern. Fill the hole with water and allow it to drain completely. Refill the hole with water and time how long it takes for the water to drain completely. If the water takes more than 24 hours to drain, it indicates poor drainage.
Step 3: Enhancing Soil Drainage
To improve soil drainage, there are several effective strategies you can employ:
- Incorporating Organic Matter: Working significant amounts of organic matter into the soil is one of the best ways to enhance drainage. Organic matter, such as compost or well-rotted manure, improves soil structure and promotes better water movement. Spread a thick layer of organic matter over the problem area and work it into the soil to a depth of 8-12 inches.
- Regrading the Area: If the terrain allows, regrading the problem area can facilitate proper water drainage. This involves reshaping the land to create a gentle slope that allows excess water to flow away. Ensure that the graded area slopes away from the planting beds or garden.
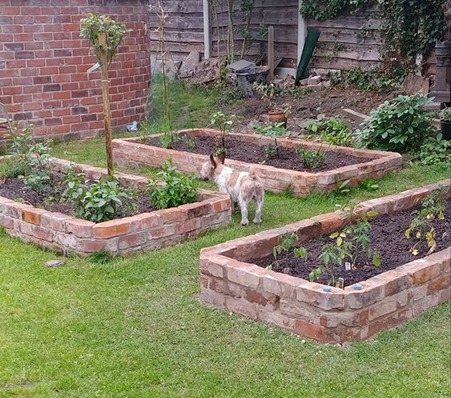
- Raised Beds: Another effective solution is to create raised beds above poorly draining soil. Construct raised beds using quality soil that has good drainage properties. This elevates the planting area, allowing excess water to drain away more efficiently.
Step 4: Maintenance and Monitoring
Regularly monitor the drainage conditions in your garden to ensure they remain optimal for plant growth. Proper watering practices, such as avoiding overwatering and adjusting irrigation methods based on soil moisture levels, are essential for maintaining healthy drainage.
Determining and Adjusting Soil pH: A Step-by-Step Guide
Understanding the pH level of your soil is crucial for cultivating a thriving garden. Follow the steps below to check your soil pH and make necessary adjustments to create an optimal growing environment.
Step 1: Assessing Soil pH
Soil pH is a measurement of its acidity or alkalinity, ranging from acid to neutral to alkaline. Most plants thrive in slightly acidic to slightly alkaline soil, with a pH between 5 and 7.2. A pH of 7 is considered neutral, while values below 7 indicate acidity and values above 7 indicate alkalinity. Extreme pH levels can hinder nutrient availability for plant roots.
Step 2: Identifying Soil Types
Different regions exhibit distinct soil characteristics that can impact pH levels:
- Acidic Soil: Regions with heavy rainfall, such as the Southeast and East Texas, often have naturally acidic soil due to high organic matter content. While most plants thrive in mildly acidic conditions, highly acidic soil can pose challenges.
- Alkaline Soil: Areas like Texas, Oklahoma, and certain other locations may have alkaline soil, characterized by high calcium carbonate content. Moderately alkaline soil can still support the growth of many plants, but some, like camellias and azaleas, may struggle.
- Salty Soil: Salty soil is typically found near coastal areas, but it can also result from excessive fertilizer use or fresh manure application. Salt-affected soil hampers water and nutrient uptake by plants, leading to symptoms such as scorched leaves or withered margins.
Step 3: Testing Soil pH
To determine your soil’s pH, you have two options:
- Simple Test Kit: Obtain a soil pH test kit from a nursery or garden center. These kits provide a basic assessment of your soil’s pH level.
- Laboratory Analysis: For a more accurate reading, send a soil sample to a laboratory that offers soil testing services. They will provide a comprehensive analysis of your soil’s pH and nutrient content.
Step 4: Adjusting Soil pH
After determining your soil’s pH, you can adjust it accordingly:
- Acidic Soil: To raise the pH of acidic soil, add lime (calcium carbonate) following the recommended application rates. This helps neutralize acidity and create a more balanced pH level.
- Alkaline Soil: To lower the pH of alkaline soil, incorporate elemental sulfur or other acidifying agents into the soil. This process gradually reduces alkalinity and creates a more suitable environment for acid-loving plants.
- Salty Soil: To address salty soil, add organic matter, such as compost or well-rotted manure, to improve soil structure and promote leaching of salts. Periodically flood the soil to flush out excess salts and restore a healthier balance.
To establish and maintain a flourishing garden, equipping yourself with the right tools is essential. Here are five indispensable tools specifically designed for working the soil, enabling you to tackle gardening tasks with ease.
1. Digging Shovel:
The round-point shovel is a versatile tool that serves multiple purposes. It effectively loosens compacted soil, transfers soil to a pile or wheelbarrow, and facilitates digging holes for planting. Its sturdy construction and sharp edge make it a reliable companion for various soil-related activities.
2. Garden Spade:
The garden spade is indispensable when it comes to soil preparation and trench digging. Its narrow, straight-sided blade allows you to create precise and well-defined trenches for planting rows or installing garden structures. With its sharp cutting edge, the garden spade efficiently works through the soil, making it a go-to tool for any gardener.
3. Spading Fork:
The spading fork is a valuable tool for loosening and turning soil, particularly in areas with compacted or heavy soil. Its sturdy, four-tined design enables effective aeration and cultivation of the soil. Additionally, the spading fork proves invaluable for working with manure and turning compost, promoting healthy soil structure and nutrient distribution.
4. Soil Rake:
The soil rake is a versatile tool designed for various soil tasks. Its sturdy tines break up clods of dirt, ensuring a finer and more manageable soil texture. The rake’s flat side allows for leveling the soil surface, while its teeth effectively tamp seedbeds, creating a firm and optimal environment for seed germination. Moreover, the soil rake is ideal for incorporating soil amendments into the top few inches of a planting bed, ensuring their even distribution.
5. Trowel:
A trowel is a must-have tool for precise planting and cultivation. Its pointed, scoop-shaped blade easily digs holes for transplanting small plants or seedlings. The trowel also proves useful for cultivating and weeding around plants. Additionally, its versatile design allows for scooping fertilizers and amendments from bags, simplifying the process of adding nutrients to your garden beds.


