The Easy Way to Paint an Interior Door
Paint an Interior Door can be a beautiful way to transform the look of a room. You may not think about it, but a freshly painted interior door can add a touch of elegance and beauty to your home.
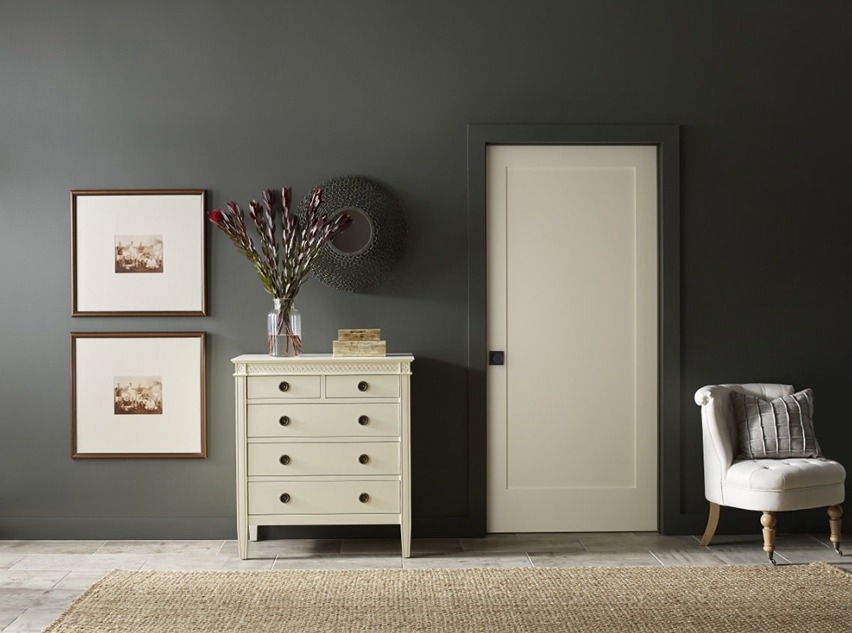
Revamping the appearance of your interior door through painting not only enhances the door’s overall aesthetic appeal, but it also transforms the room and your home’s outlook entirely. This project is flexible and can be undertaken at your leisure, either one door at a time or several doors in succession.
By painting your interior door, you can revitalize its condition, improve its functionality, and modernize its appearance, making it look as good as new. Furthermore, the door’s newly polished look can complement the surrounding decor and furniture, adding a fresh and revitalizing element to the room’s atmosphere.
Moreover, painting your interior doors can be a convenient and cost-effective way of renovating your home. You can tackle the project at your own pace, taking as much time as you need to finish it. You can also choose to paint one door at a time or several doors in succession, depending on your preferences, schedule, and budget.
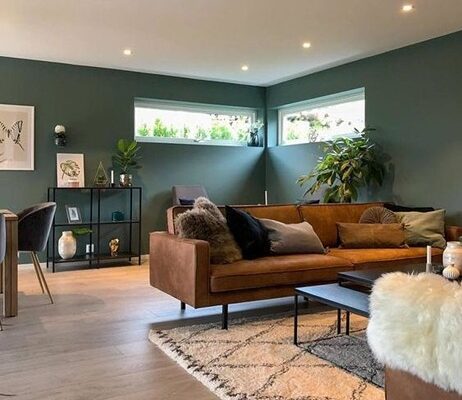
Therefore, painting your interior doors is an excellent home improvement project that can transform your home’s look and feel without breaking the bank or disrupting your daily routines. It’s a simple yet effective way of enhancing your living space and making it more inviting and comfortable.

Choose the right Paint
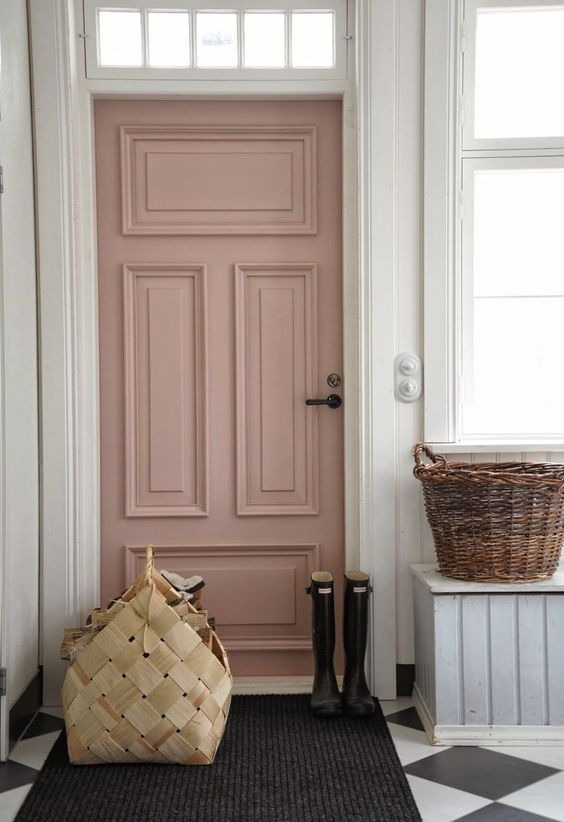
One factor to consider when you paint an interior door is the type of paint you use, as some options may be more durable or have a different finish. It’s recommended to use acrylic-latex paint with eggshell, satin, or semi-gloss sheens. It’s best to avoid flat or matte paint as it can be challenging to clean and maintain.
If each door, including the front, back, and edges, measures 68 square feet, you will need approximately one gallon of paint for every five doors. This calculation is based on the fact that one gallon of paint covers approximately 350 square feet.
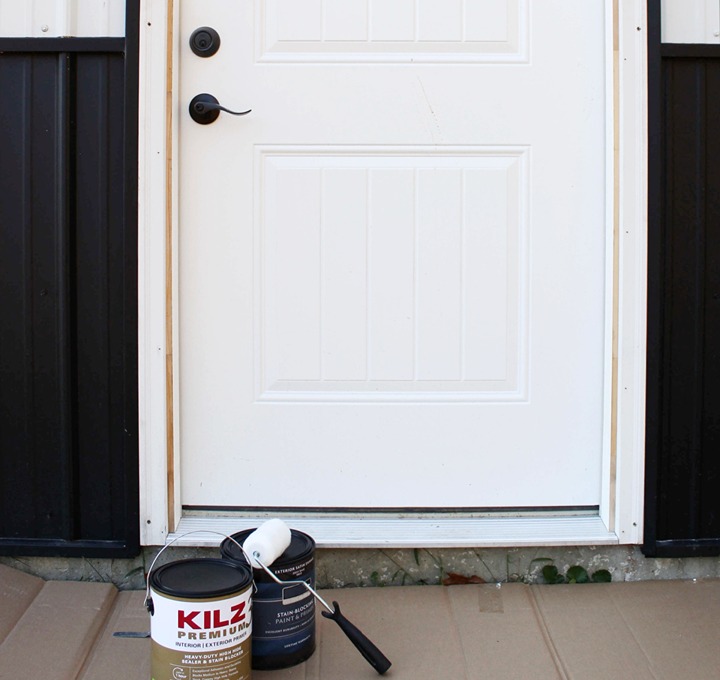
Most paintable interior doors today come pre-primed, so it’s not necessary to apply a primer before painting. However, if the door is bare wood, it’s likely meant to be stained and coated instead of painted. Clear pine doors and unfinished wood veneer doors should also be stained and clear-coated, not painted.
If you decide to paint these doors, it’s essential to prime them first with two coats of interior primer to ensure that the paint adheres correctly and provides a smooth finish. This step will also help to seal the wood and prevent it from absorbing too much paint, which can lead to an uneven finish.
Therefore, it’s crucial to choose the right type of paint and sheen for your interior doors and to prime the doors correctly before painting to ensure a long-lasting and professional-looking finish.
When to Paint?
When undertaking a larger home remodel project that involves painting interior doors, it’s generally best to save this task for one of the final steps. By leaving the doors off their hinges for as long as possible, you can avoid potential obstacles to installing flooring, door casing, and trim.
Furthermore, by waiting to paint the doors until other renovation work is complete, you can prevent wall, ceiling, or trim paint from accidentally getting on the newly painted doors. This can save you time and money in the long run, as you won’t have to touch up the doors or repaint them entirely.
Another benefit of waiting to paint the doors until later in the project is that it allows you to make any necessary adjustments to the doors, such as sanding or trimming, to ensure a proper fit with the new flooring or trim.
Paint the Door after Removing It
When painting an interior door, removing it from its hinges is highly recommended as it allows you to access all parts of the door, including bottom and back edges. Painting the door flat also reduces the risk of paint drips and allows for a smoother finish.
Furthermore, by removing the door, you have the opportunity to work on it in a separate room or workshop, away from the rest of the house. This can be particularly useful if you’re planning to work on multiple doors, as it prevents the project from blocking any rooms or disrupting daily activities.
Additionally, removing the door can help reduce the amount of time required for the project. By laying the door flat, you can paint both sides at the same time, and the paint can dry more quickly, allowing you to finish the project sooner.
1. Remove the Door
To remove a door for painting, you’ll need to tap out the pins in the door hinges. Begin by placing the sharp end of a nail at the bottom of the pin and tapping it lightly with a hammer until enough of the pin protrudes for you to pull it out by hand. Repeat the process for the other hinge pin.
Once the hinge pins are removed, you can slide the door off the hinges. Be sure to hold onto the door firmly as you slide it off to prevent it from falling or getting damaged.
When removing the door, it’s important to leave the other half of the hinges on the door casing. This will make it easier to reattach the door later without having to realign the hinges. Be sure to store the hinge pins in a safe place so you don’t lose them.

2. Remove all accessories from door
To prepare a door for painting, you’ll need to remove all items from it, including the hinges, doorknob, rectangular faceplate, rose cover (the round trim), and any door hooks or wall protectors. Begin by placing the door on two sawhorses to elevate it off the ground and make it easier to work on.
Next, use a screwdriver or drill to remove the screws holding the hinges to the door. Set the hinges and screws aside in a safe place for later reinstallation.
To remove the doorknob, look for a small hole or slot on the shank of the knob. Insert a small screwdriver or Allen wrench into the hole and twist it to release the knob from the latch assembly. Once the knob is removed, use a screwdriver to remove the rectangular faceplate and the rose cover, which are typically held in place by small screws.
Finally, remove any door hooks or wall protectors that may be attached to the door using a screwdriver or drill. Make sure to keep all the items together in a safe place until it’s time to reattach them.

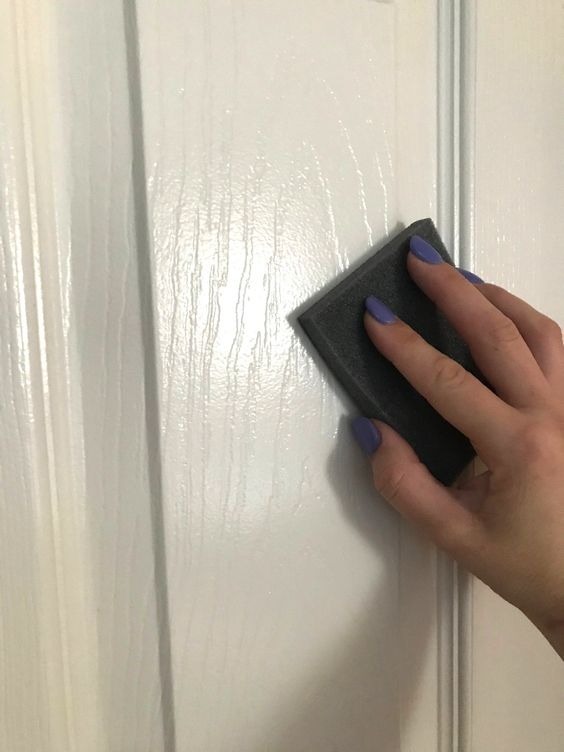
3. Prepare the Surface
Before painting a door, it’s important to prepare the surface by lightly sanding it. To do this, start by using a sanding sponge to sand the door’s front and back, as well as the two long edges and the top and bottom edges.
Make sure to sand lightly, using a circular or back-and-forth motion, to avoid removing too much of the door’s finish. The goal is to create a slightly rough surface that will help the new paint adhere better.
If your door has any existing dents or scratches, you may want to use coarser grit sandpaper or sanding block to smooth them out before using the sanding sponge. Be sure to wipe down the door with a damp cloth or tack cloth after sanding to remove any dust or debris before painting.
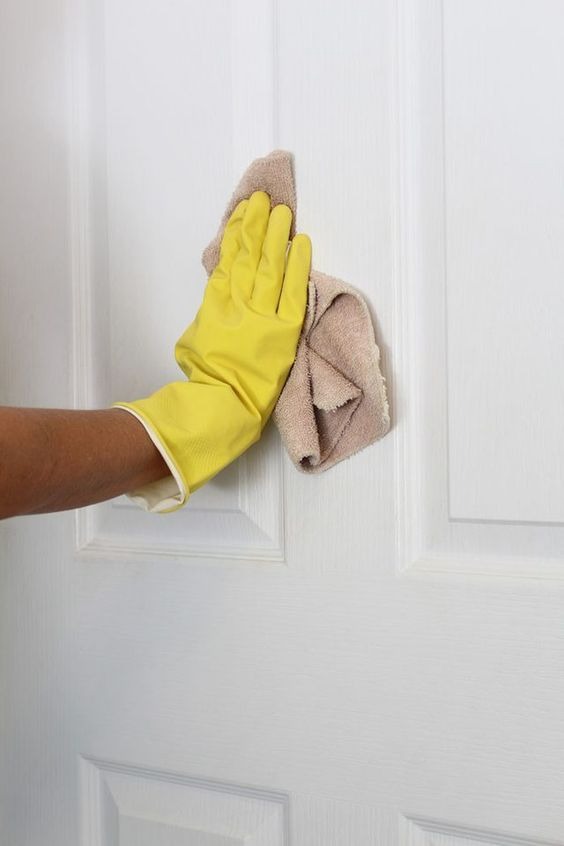
4. Clean the Door
After sanding the door, clean it thoroughly to remove any dust or debris before painting. To do this, you can use a shop vacuum to suck up any loose particles from the surface of the door.
Next, use a tack cloth to wipe down the door, making sure to get into all the corners and crevices. A tack cloth is a sticky cloth that is designed to pick up fine particles and dust, leaving a clean surface behind.
By using both a shop vacuum and tack cloth, you can ensure that your door is clean and ready for painting, which will help the new paint adhere better and create a smooth, even finish.
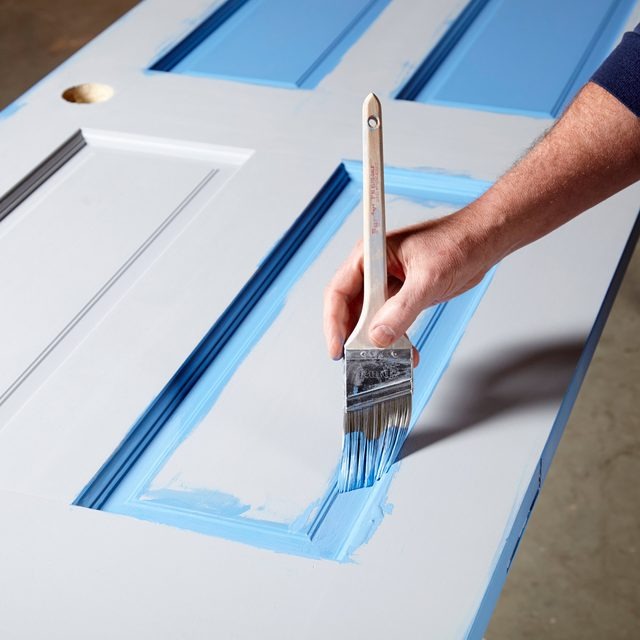
5. Paint Edges and Panels
To begin painting the door, start by using a brush to paint the edges of the door. If the door has panels, make sure to paint them as well.
When painting the edges and panels, it’s important to load up the brush with a minimal amount of paint to avoid creating runs or sags. Watch for drips along the edges, as they can be unsightly and may need to be sanded down later.
It’s a good idea to work systematically, starting at the top of the door and working your way down, so that you can catch any drips or mistakes as you go. Once you’ve painted the edges and panels, you can move on to painting the larger surfaces of the door.
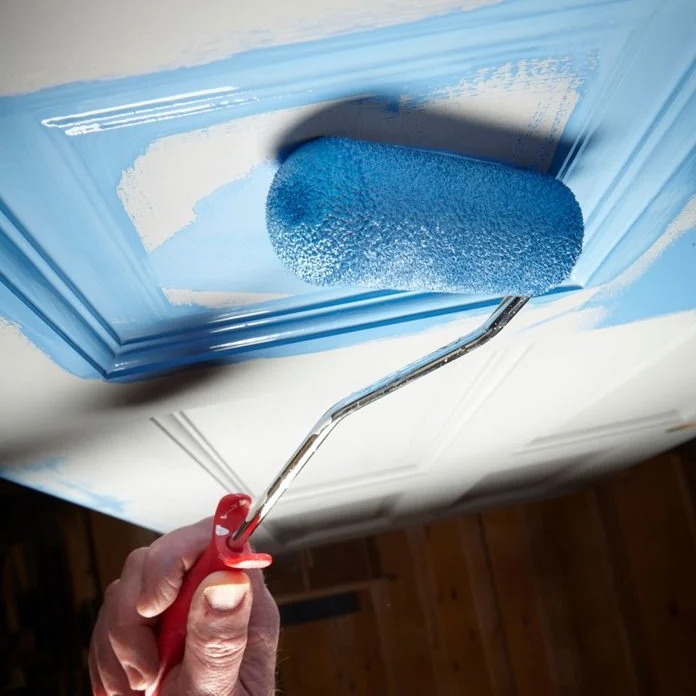
6. Switch to Foam Roller
Once you’ve finished painting the edges and panels with a brush, it’s time to switch to a foam roller to paint the larger surfaces of the door. To achieve a smooth finish when you paint an interior door, use a foam roller after brushing the edges and panels.
While the paint is still wet, roll the foam roller over all of the flat surfaces of the door, using long, even strokes. As you go, keep an eye out for any drips or other imperfections left over from the brushwork, and touch them up with the roller.
When you paint an interior door, it’s important to allow enough drying time between coats and before reattaching any hardware. Working quickly and systematically with the foam roller can help you achieve a smooth, even finish on your door. Make sure to use a light touch and avoid pressing too hard with the roller, as this can create bubbles or other imperfections in the paint.
7. Must go for Second Coat
After finishing the first coat of paint, you’ll need to wait for the paint to dry before applying a second coat. It’s recommended to wait around two hours for the paint to fully dry, though you should check the specific instructions on your paint can to be sure.
Once the first coat is completely dry, you can apply a second coat of paint in the same manner as the first. Start by painting the edges and panels with a brush, then switch to a foam roller to paint the larger surfaces of the door. Work systematically and avoid applying too much pressure with the roller.
By applying a second coat of paint, you can help ensure that the finish on your door is smooth and even, with no thin or bare spots. Once the second coat is complete, give the door ample time to dry before re-installing it.
8. Paint opposite Side of the Door
After painting one side of the door, you’ll need to wait for the paint to dry completely before flipping the door over and painting the other side. It’s recommended to wait at least two hours before turning the door over; though you may want to wait a full day to be sure the paint is fully cured and won’t be damaged by pressure.
When you’re ready to paint the other side of the door, repeat the same process you used for the first side. Start by painting the edges and panels with a brush, then switch to a foam roller to paint the larger surfaces. Be sure to apply a second coat of paint once the first is dry, to ensure a smooth, even finish.
By taking your time and following these steps, you can successfully paint both sides of your interior door and give your room a fresh new look.
9. Reinstall Door and Hardware
Reinstall all the hardware such as hinges, doorknob, rectangular faceplate, rose cover, and any door hooks or wall protectors. Then, carefully slide the door back onto the hinges on the door frame. Finally, secure the door in place by replacing the hinge pins.
Painting a Door without Removing It
When it comes to painting an interior door, there are pros and cons to both painting it while it’s still on its hinges and removing it from its hinges. One advantage of painting a door while it’s still on its hinges is that you don’t have to go through the trouble of uninstalling and reinstalling it.
Another benefit of painting a door on its hinges is that it allows you to paint both sides of the door at the same time, saving you time and effort. You can easily move around the door to reach all areas, and you don’t have to worry about waiting for one side to dry before painting the other.
However, there are some disadvantages to painting a door on its hinges. For example, it can be challenging to paint certain areas, such as the top and bottom edges, while the door is still attached to the frame. Additionally, you may need to protect the floor and surrounding areas with drop cloths to prevent paint drips.
On the other hand, if you remove the door from its hinges, you can lay it flat and paint it more easily and evenly. However, you’ll need to wait for one side to dry completely before turning it over and painting the other side.
1. Take off Door Accessories
Before you paint an interior door, make sure to remove all hardware and apply painter’s tape to protect hinges and other areas. Using a screwdriver, carefully remove all items from the door that will not be painted such as the doorknob, faceplate, rose cover (round trim), hooks, and any other hardware. Make sure to leave the hinges attached to the door.
2. Protect the floor
Before starting the painting process, you should add a drop cloth to protect the flooring underneath. First, open the door to about halfway and then slide the drop cloth under the bottom edge of the door. Ensure that the drop cloth extends the entire width of the door and outward a few feet to catch any drips or spills.
3. Secure the Door
Place a soft item, such as a towel, under the bottom edge of the door to prevent it from wobbling or shifting during the painting process. Press against the door to make sure it is steady and secure before proceeding.
4. Apply Painter's Tape
Apply painter’s tape by first laying full strips of tape across the hinges. Then, use a utility knife to pare away the excess tape, leaving only the hinges covered.
5. Paint a Door
To paint a door without removing it, start by taping over the hinges using painter’s tape. Then, open the door halfway and slide a drop cloth underneath, making sure it extends beyond the door. Jam a soft item like a towel under the bottom edge of the door to steady it.
Next, remove all items from the door except for the hinges. Now, paint the door, being careful not to paint the bottom edge since it is in contact with the drop cloth. When painting near the taped-over hinges, be cautious not to apply too much paint, which could cause mounding.
Since vertical surfaces are prone to dripping, frequently check for and touch up drips as they develop. Since both sides are visible, you can paint both sides at the same time.
Pros and Cons of Painting a Door in Place vs. Removing It
When it comes to painting interior doors, you have two options: you can either remove the door from its hinges or paint it laid flat or you can paint it without removing it. However, it’s generally preferable to remove the door from the hinges before painting.
Painting a door that is still attached to its hinges can be challenging as it can be challenging to reach certain areas, such as the top and bottom edges, corners, and recessed panels. This can result in an uneven finish, and you may need to apply multiple coats of paint to achieve the desired look.
On the other hand, removing the door from its hinges and laying it flat allows you to paint the entire door evenly and reach all areas without any obstructions. This method also allows you to paint both sides of the door at once, saving you time and effort.